8 Essential US Passport Photo Requirements and Global Standards for 2026
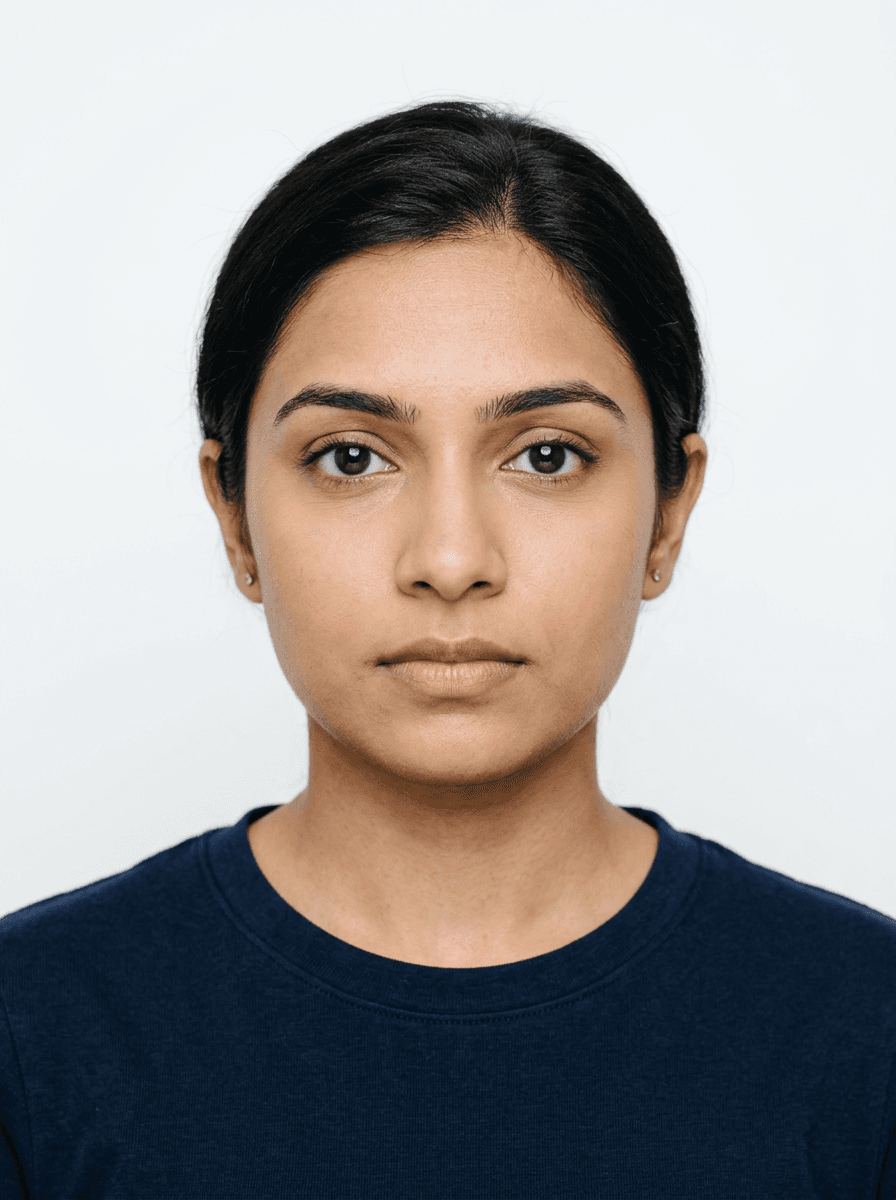
Navigating international travel documentation requires strict adherence to specific photographic standards that vary significantly between jurisdictions. Whether you are renewing a document or applying for the first time, understanding the nuances of biometric image capture is essential to avoid application delays or outright rejection. Each country maintains distinct protocols regarding head size, background colour, and facial expression, all designed to facilitate machine-readable identification and facial recognition technology.

Quick Summary
Government-issued passport photos must meet precise biometric standards to be accepted. While regulations vary, they universally require neutral expressions, clear visibility of facial features, and specific lighting conditions to ensure the image remains scannable and accurate for identity verification by border control agencies worldwide.
- Maintain a neutral expression with eyes fully open.
- Ensure lighting is even without shadows across the face.
- Adhere strictly to the specific pixel or physical dimensions required.
- Use a plain white or off-white background unless specified otherwise.
Table of Contents
- US Passport Photo Requirements
- Canadian Passport Photo Standards
- Australian Passport Size Photo Guidelines
- New Zealand Passport Photo Requirements
- Formatting for Digital Biometric Submissions
- Common Pitfalls in Infant Passport Photography
- Lighting and Shadow Management
- Print-Ready Preparation and Cropping
- FAQ
- Recommended Reads
US Passport Photo Requirements
The United States mandates a highly specific format for identity documents. Applicants must submit a 2x2 inch (51x51 mm) photograph taken within the last six months to reflect their current appearance. The image must show a clear view of the face, with the head positioned directly facing the camera - no profile shots are permitted.
Crucially, the head size must measure between 25 mm and 35 mm from the bottom of the chin to the top of the head. The background must be plain white or off-white, free of any shadows, textures, or objects. Glasses are no longer permitted in US passport photos, as they often cause light reflections that obscure the eyes.
Canadian Passport Photo Standards
Canada maintains rigorous standards for a Canadian passport photo, which differs from the American square format. The physical size required is 50 mm wide by 70 mm high. Unlike the US, the face must be between 31 mm and 36 mm from chin to crown. The background must be white or light-coloured, ensuring high contrast with the subject.
An essential element of the Canadian requirement is the inclusion of the photographer's name and address, as well as the date the photo was taken, printed on the back of one print. Additionally, a professional photographer or guarantor must sign the back of one photo to verify the identity of the applicant, a unique step compared to many other nations.
Australian Passport Size Photo Guidelines
When preparing passport photos requirements Australia mandates a size of 35 mm to 40 mm width and 45 mm to 50 mm height. The face should occupy a significant portion of the frame, specifically 32 mm to 36 mm from chin to crown. Australian authorities are particularly strict regarding the neutral expression requirement.
Lighting in Australian passport photos must be uniform across the face, with no heavy shadows under the eyes, nose, or chin. The background must be plain, light-coloured, and feature no patterns or textures. Unlike the US, prescription glasses are acceptable if they do not obstruct the eyes or cause glare, though rimless frames are often encouraged to reduce risk.
NZ Passport Photo Requirements
New Zealand (nz passport photo requirements) follows a similar metric system to its Australian counterparts but focuses heavily on the digital submission process. Applicants must provide an image with a file size between 250 KB and 10 MB, and dimensions of at least 900x1200 pixels. The physical print requirements remain 35 mm by 45 mm if submitting hard copies.
For digital submissions, the head must be centered, and there should be sufficient space around the head for cropping during processing. New Zealand immigration authorities advise against wearing clothing that blends into the background, as this can confuse automated cropping software. If you are preparing your own images, ensure the file is in JPEG format and that no digital filters have been applied to alter facial features.
Formatting for Digital Biometric Submissions
Modern biometric systems rely on precise pixel density and aspect ratios to perform facial recognition. When submitting digital files, you must ensure the image is not distorted or stretched. Most government portals provide an automated tool to preview the crop, but it is better to upload a file that already conforms to the required aspect ratio.
Scaling issues are a common cause of rejection. If an image is 600x600 pixels but requires a different ratio, the software may attempt to compensate, leading to a warped appearance. Always use a high-resolution source file, as downscaling an image is safer than upscaling a low-resolution one, which often results in pixelation and loss of detail near the eyes.
Common Pitfalls in Infant Passport Photography
Capturing compliant photos for infants involves unique challenges, particularly regarding the 'no outside object' rule. Parents are often tempted to hold the child or place them on a patterned blanket, both of which violate official standards. The child should ideally be laid on a plain white sheet or seated in a car seat covered with a white cloth.
Maintaining a neutral expression is not expected for infants, but their eyes must be open and clearly visible. If the baby is too young to hold their head up, laying them on their back against a plain background remains the most effective method, provided the camera is positioned directly overhead and shadows are managed through ambient, natural light rather than a direct flash.
Lighting and Shadow Management
Professional passport photography requires balanced, soft lighting. Avoid standing directly under a bright overhead light, which creates deep sockets around the eyes. Instead, face a window during the daytime to achieve a natural, diffused light source. This technique eliminates harsh shadows on the background and ensures the face is illuminated evenly.
If you are using an artificial flash, keep it at a distance to prevent 'hot spots' on the skin or reflections in the eyes. Shadows cast on the background are a primary reason for rejection, as they interfere with the software's ability to distinguish the subject's outline from the wall. A simple way to check for shadows is to stand a few feet away from the background surface.
Print-Ready Preparation and Cropping
Once the image is captured and the background is removed, the final step is formatting for print. Standard photo paper sizes (like 4x6 inches) are typically used for printing multiple passport photos in one go. You must ensure that when the file is placed on the template, the physical dimensions remain true to scale.
Avoid using home printers that lack the resolution to print sharp, clear images. Professional photo kiosks at retail locations generally offer the best balance of cost and quality, provided the file is prepared beforehand to meet the exact dimensions required for your specific country’s application. Ensure the printer settings do not use 'auto-fit' or 'shrink to page' features, as these will alter the precise dimensions of the passport image.
FAQ
Can I wear glasses for my passport photo? It depends on the country. The US strictly prohibits glasses, while countries like Australia and New Zealand may permit them, provided there is no glare on the lenses or the frames do not obscure the eyes.
What should I do if my photo is rejected? Check the rejection notice for specific details. Often, it is due to poor lighting, incorrect head size, or background shadows. Re-take the photo focusing on these specific points, ensuring you follow the official guidelines provided by your passport office.
Is it acceptable to use a selfie? Selfies are generally discouraged because the focal length of a front-facing smartphone camera can distort facial features. It is better to have someone else take the photo from a distance of about 1.5 metres to ensure the correct proportions.