Everything About Passport Photo Applications
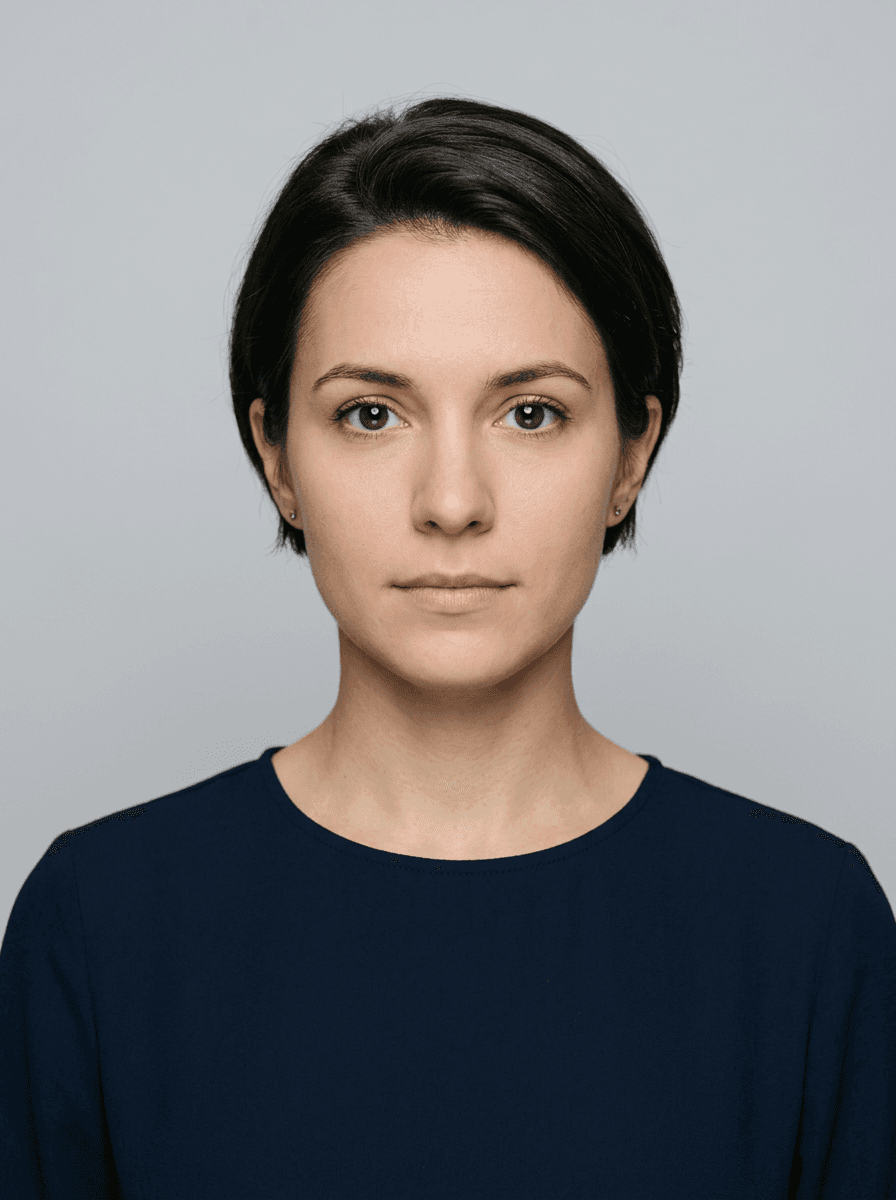
Navigating the complexities of a passport photo application requires a precise understanding of the technical standards set by the HM Passport Office. Whether you intend to make passport photographs yourself or use a digital service to create a passport image that meets the stringent requirements, ensuring compliance is the difference between a seamless application and a rejected submission. Modern digital standards have streamlined this process, allowing citizens to capture and upload images that facilitate a secure, automated verification process.
Quick Summary
A passport photo application is a digital or printed photograph that adheres to specific biometric standards required for international travel documentation. To be successful, the image must feature a clear, neutral expression, a plain light-coloured background, and precise dimensions to ensure identity verification consistency across global borders.
- Ensure the image is recent, taken within the last month.
- Use a plain, off-white or light grey background.
- Avoid shadows on the face or behind the head.
- Maintain a neutral expression with eyes fully visible.
- Verify digital file requirements before attempting to create a passport image.
Table of Contents
- Quick Summary
- Understanding Passport Photo Requirements
- The Technical Mechanics of Digital Passport Photos
- How to Properly Create a Passport Photo
- Utilising a Passport Photo Code UK
- Common Pitfalls and Rejection Reasons
- Comparison of Photo Methods
- Frequently Asked Questions
- Recommended Reads

Understanding Passport Photo Requirements
HM Passport Office mandates strict adherence to photographic standards to ensure facial recognition software functions reliably. The primary requirement is that the photograph must be an accurate representation of the applicant, taken within the last 30 days. The background must be plain, light-coloured, and free from patterns or other objects, as digital scanners rely on high-contrast edges to isolate the subject from the background.
Facial positioning is equally critical. Applicants must face forward, looking directly at the camera with a neutral expression - no smiling, frowning, or raising eyebrows. Glasses, head coverings, and hair obscuring the eyes are generally prohibited, unless for medical or religious reasons, provided that the features remain entirely visible. If you are uncertain about specific nuances, visiting a comprehensive passport photo guide can clarify the lighting and framing nuances required for a successful submission.
The Technical Mechanics of Digital Passport Photos
When you decide to make passport files digitally, you are interacting with specific data formats designed for automated processing. Digital images must be at least 600 pixels wide by 750 pixels tall and have a file size between 50KB and 10MB. These dimensions are not arbitrary; they are calibrated to match the sensor resolution of government biometric servers.
Furthermore, the digital composition must allow for a 'buffer zone' around the head and shoulders. If the subject is too close or too far from the lens, the image will fail the automatic validation tests conducted at the point of upload. Understanding these constraints is vital, as most automated systems will trigger an immediate error notification if the pixel density or aspect ratio does not meet the necessary criteria, preventing the submission of a non-compliant file from the outset.
How to Properly Create a Passport Photo
To create a passport photo at home, you must control the environment as strictly as a professional studio. Lighting is the most frequent point of failure; aim for soft, even light directed at the face. Avoid standing directly against a wall, as this casts dark shadows behind you. Instead, stand about 50cm away from a plain light-coloured wall, and ensure the light source is in front of you, not behind or above.
Using a smartphone for your passport photo application is perfectly acceptable provided the camera resolution is high. Always use the rear-facing camera, as selfie cameras often distort facial features due to wide-angle lenses and lower sensor quality. You can find useful tools and contact support if you encounter technical difficulties during the image preparation process. Remember to keep the camera at eye level, ensuring the entire head and shoulders are visible within the frame.
Utilising a Passport Photo Code UK
A major innovation in the passport photo application process is the digital photo code. When you use a professional service or an approved digital kiosk, you may receive a unique numeric or alphanumeric string known as a passport photo code UK. This code acts as a secure key, linking your digital photograph directly to the government’s application database.
When applying online, you simply input this code into the relevant field, and your pre-validated photograph is retrieved automatically. This eliminates the need for physical uploads and reduces the likelihood of file corruption or format rejection. If you are struggling with the digital process, checking the frequently asked questions can provide immediate clarity on how to associate your digital photo with your specific application reference.
Common Pitfalls and Rejection Reasons
Rejections occur primarily due to human error during the capture phase. The most common issues include red-eye, head tilt, and obscured features. Red-eye is often caused by direct flash usage in dark rooms; it is better to rely on natural, indirect daylight to avoid this physiological distortion of the eyes.
Another significant issue is 'cropping' errors. The image must clearly display the full head and the top of the shoulders. If you crop too tightly, the facial recognition system will be unable to calculate the distance between your features, leading to an automatic failure. It is also important to ensure that there is no glare on skin or glasses, as this can 'wash out' facial details, rendering the photograph useless for biometric matching.
Comparison of Photo Methods
| Feature | Professional Studio | Digital Kiosk | Home Creation |
|---|---|---|---|
| Convenience | Low | Medium | High |
| Cost | High | Medium | Low |
| Accuracy | Very High | High | Depends on User |
| Digital Code | Often Included | Always Included | Optional |
Pro Tip: If you are taking the photo yourself, use a tripod or prop your phone up at eye level. Holding the phone by hand often results in slight camera shake or inconsistent angles that are difficult to correct during post-processing.
Frequently Asked Questions
Can I wear glasses in my passport photo? It is strongly advised to remove your glasses to avoid reflections, glare, or frames obscuring your eyes. Unless you have a medical exemption, the clearest photo is one without eyewear.
What if my passport photo download is rejected? If your digital photo is rejected, the system will usually provide a specific reason. Ensure your image meets the required dimensions and that the lighting is even. Always review our privacy policy to understand how your biometric data is handled.
How recent must the photo be? Photos must be taken within the last 30 days to ensure they accurately represent your current appearance. Using an old photo, even if you look similar, can lead to delays.
Can I use a digital filter to improve my photo? No. Filters that alter your skin tone, facial features, or background are strictly prohibited and will result in immediate rejection. The image must be raw and authentic.