Everything You Need to Know for Your Passport Photo
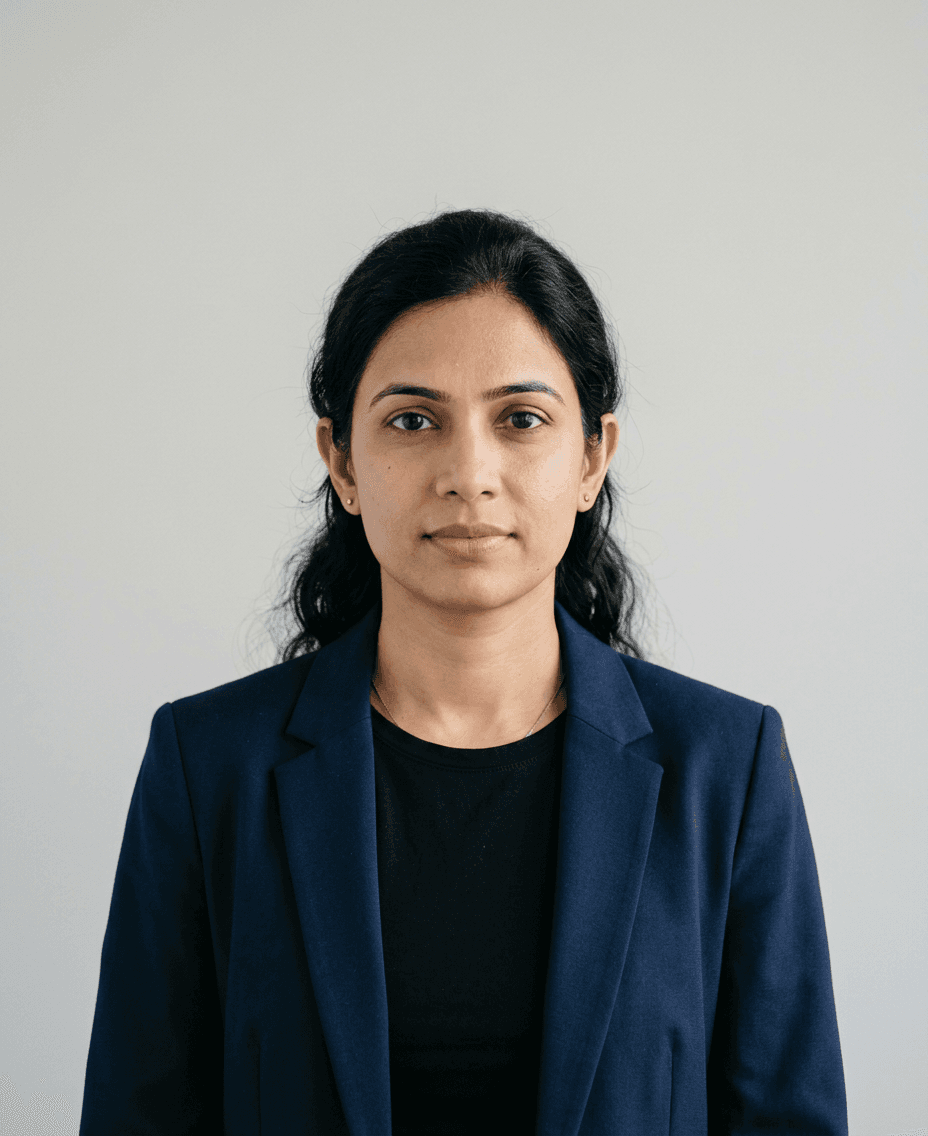
Obtaining a high-quality passport photo is a critical step in any international travel process, as authorities strictly regulate the dimensions, clarity, and composition of submitted images. A valid passport photo serves as a biometric identifier, meaning that even minor deviations from official guidelines can lead to an application being rejected, causing significant delays to your travel plans.
Quick Summary
A passport photo is a standardised portrait that meets specific government-mandated requirements regarding size, lighting, and facial expression. It must be a recent, high-quality image that provides a clear, unaltered representation of your appearance to facilitate secure identity verification during international border crossings and official document processing.
- Ensure the image is 35mm wide by 45mm high.
- Use a plain, light-coloured background with no shadows.
- Maintain a neutral expression with your eyes open and visible.
- Avoid wearing glasses or head coverings, unless for medical or religious reasons.
Table of Contents
- Understanding Passport Photo Regulations
- Technical Requirements for Your Image
- Best Practices for Lighting and Composition
- Common Pitfalls and Why Applications Fail
- Comparison of Photo Production Methods
- Frequently Asked Questions
- Recommended Reads

Understanding Passport Photo Regulations
Government agencies worldwide enforce rigorous standards for identification images to ensure compatibility with facial recognition software and human verification processes. The primary goal is to provide a consistent, clear, and unambiguous record of the applicant. Regulations often cover head size, vertical position, and the inclusion of peripheral elements that could obscure facial features or distract from the biometric data.
When preparing for your portrait, remember that the photograph must have been taken within the last month to accurately reflect your current appearance. Changes such as facial hair, hair colour, or significant weight fluctuations should be considered, as the image acts as a primary verification tool at immigration checkpoints. You can find more details on preparation via our professional passport photo guide.
Technical Requirements for Your Image
The physical dimensions are non-negotiable; in the UK, the standard is 35mm in width by 45mm in height. Beyond the external dimensions, the head must occupy between 29mm and 34mm of the vertical space from the crown to the chin. This specific ratio ensures that the face is properly framed for automated scanning systems used by border agencies.
Resolution and paper quality are equally important. If you are printing your own photos, use high-quality, matte-finish photographic paper. Glossy prints can create reflections or "hot spots" under the scanners, leading to potential rejection. Ensure the image is printed at a minimum of 300 DPI to maintain the crispness of details, such as the texture of the skin and the edges of the facial features.
Pro Tip: If you are unsure whether your DIY photo meets the official standards, consult our about page to learn more about the validation standards we follow for ensuring compliance.
Best Practices for Lighting and Composition
Lighting is perhaps the most frequent cause of rejected photos. You must avoid shadows on your face or the background. Use even, front-facing lighting to eliminate harsh contrasts. Natural daylight from a window facing you is often the most effective way to achieve an even spread of light across the features without creating deep shadows under the eyes or chin.
Composition-wise, you must face the camera directly with your head centred. Your expression should be neutral, which means keeping your mouth closed and your eyes looking directly into the lens. Even a slight tilt of the head or a camera angle that is too high or low can distort your facial structure, which might trigger an error in the automated verification process. Always ensure your background is plain, neutral, and free of patterns or other people.
Common Pitfalls and Why Applications Fail
Many applications fail because of subtle violations that an amateur might overlook. The most common issues include red-eye effects from flash photography, reflections on glasses, and busy backgrounds. Even if your glasses do not have a tint, the frames themselves can obscure your eyes or reflect light, and the rules generally prefer their omission unless absolutely necessary for health reasons.
Another frequent mistake involves digital manipulation. While it is tempting to use filters to smooth skin or remove blemishes, these digital alterations can be detected by sophisticated software. Any image that appears altered may be flagged as fraudulent or invalid. Always use raw, clean images and avoid any software-based aesthetic enhancements.
Comparison of Photo Production Methods
Choosing the right method for generating your image depends on your budget, time, and comfort with technology. Below is a comparison of common production paths:
| Feature | DIY Mobile Photo | Professional Photo Booth | Professional Studio |
|---|---|---|---|
| Cost | Negligible | Low | High |
| Convenience | High | Medium | Low |
| Compliance Risk | Moderate | Low | Very Low |
| Equipment Needed | Smartphone | None | Professional |
For those who prefer a reliable, automated solution, digital services often bridge the gap between DIY convenience and professional compliance. Before proceeding with a purchase, it is useful to review the terms and conditions of any service you choose to ensure their output matches your specific country's requirements.
Frequently Asked Questions
Can I wear headwear in my passport photo?
Only if the headwear is for religious or medical reasons. Even then, it must not cover any part of your face, and your full hairline should ideally be visible.
Do I need to remove my spectacles?
Yes, it is highly recommended. Reflective lenses and frame edges often cause rejection due to obscuring the eyes or creating glare.
What happens if my photo is rejected?
If your application is submitted with an invalid photo, your process will be paused, and you will be required to submit a new, compliant image. This can cause significant travel delays.
Can I use a digital filter on my photo?
No. Any digital enhancement, such as skin smoothing or background removal that leaves artifacts, will lead to the rejection of your document.
Recommended Reads
- Review our comprehensive passport photo guide for step-by-step instructions.
- Understand your consumer rights by checking our refund policy.
- Read our privacy commitments regarding the data you upload.
- If you encounter technical issues, visit our help centre for troubleshooting.