How to Format an HK Passport Size Photo and Meet Australian Requirements
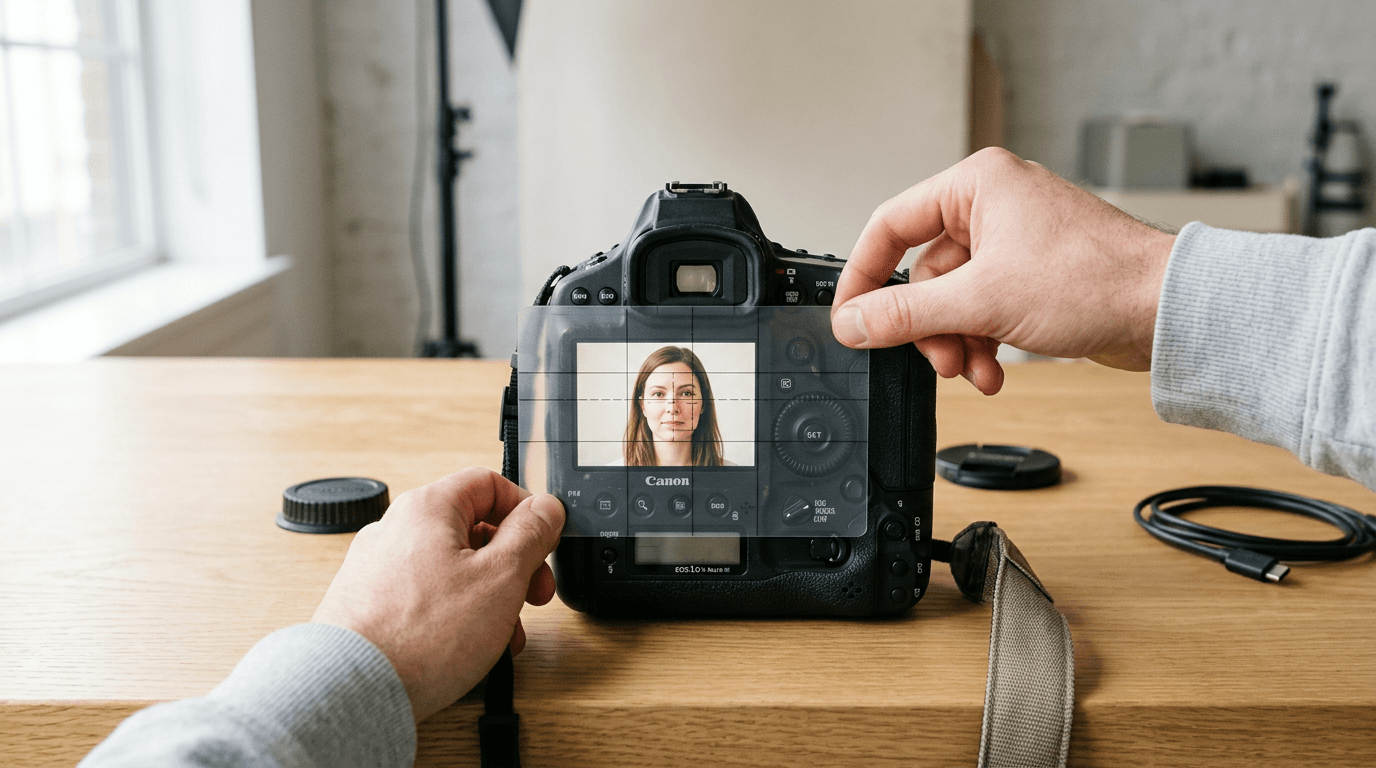
You lay the infant on a freshly ironed white sheet, spend twenty minutes coaxing them to open their eyes, and capture a seemingly perfect image. Two weeks later, the application is rejected because the digital portal's biometric scanner interpreted a faint shadow beneath their chin as an invalid facial geometry. Producing an HK passport size photo or matching strict foreign specifications requires more than a high-resolution camera. Biometric algorithms do not see a face; they measure pixel contrast, interpupillary distance, and background uniformity. This guide explains how to format travel images for both Hong Kong and Australian standards, detailing the biometric mechanics, the exact physical dimensions, and the hidden digital failures that cause government portals to reject otherwise flawless photographs.
Quick Summary
Formatting images for Hong Kong and Australian travel applications requires adherence to distinct dimensional and biometric standards that dictate head proportion, background tone, and lighting quality.
- Hong Kong requires a 40x50mm image with a 32-36mm head height and a pure white background.
- Australia requires a 35-40mm wide by 45-50mm high image with a 32-36mm head height on a light grey or cream background.
- Both standards mandate strict shadow elimination and prohibit any digital alteration of facial features.
- Biometric scanners measure the distance between the pupils and the chin; perspective distortion from incorrect camera distance will cause automatic rejection.
Table of Contents
- 1. Lighting Setup for an HK Passport Size Photo
- 2. Positioning the Subject for Biometric Scanners
- 3. Formatting Dimensions for Hong Kong Standards
- 4. Cropping an Australian Passport Size Photo
- 5. Preserving Digital Image Integrity
- Common Pitfalls & Troubleshooting
- FAQ
- Recommended Reads
1. Lighting Setup for an HK Passport Size Photo
How contrast confuses biometric facial mapping
Biometric scanners rely on edge-detection algorithms to map the topography of a face. They identify the boundaries of the nose, eyes, and mouth by reading contrast shifts between light and shadow. When you take a photo under overhead room lighting, the brow bone casts a shadow over the eye sockets, and the chin casts a hard shadow onto the neck. To the software, these shadows register as asymmetrical deformities or missing facial features, leading to an immediate rejection.
To prevent this, turn off all artificial room lights. Position the subject facing a large window during daylight hours. Soft, diffused daylight fills the contours of the face evenly, flattening the shadows without overexposing the skin. For infants, laying them on the floor near a glass door is highly effective, but you must ensure your own body does not cast a shadow over them as you lean over the camera.
A compliant photo will feature a single, distinct catchlight (a tiny reflection of the window) in each pupil. Multiple catchlights from various indoor lamps or overhead fixtures will confuse the eye-detection software, which relies on a clear pupil boundary to calculate the interpupillary distance. Eliminate secondary light sources entirely to ensure the algorithmic map remains accurate.
2. Positioning the Subject for Biometric Scanners
Why focal length determines facial proportions
The camera lens must be perfectly parallel to the subject's face. If you tilt the phone slightly forward or backward, you introduce perspective distortion. A lens tilted down toward a baby lying on the floor will make their forehead appear massive and their chin artificially small. This skews the chin-to-forehead ratio, a critical metric in international facial recognition templates.
Furthermore, shooting from too close distorts the nose. This is a common mistake when trying to fill the frame with an infant's face. It hides the ears behind the curve of the cheeks. You must hold the camera at least 1.2 metres away from the subject. Use a 2x or 3x optical zoom to flatten the perspective. This optical compression accurately reflects the skull's true geometry. It ensures the ears and the width of the jaw remain visible to the scanner.
The subject's head must be entirely unsupported by visible hands. If you are photographing a newborn, place rolled towels underneath the white sheet to cradle their head. This prevents the infant from rolling their head to the side without introducing foreign objects into the frame. Any visible fingers, or even the edge of a hand supporting the neck, will cause the automated cropping systems of an infant passport photo platform or a government portal to instantly fail the image.
3. Formatting Dimensions for Hong Kong Standards

Calculating the precise chin-to-crown ratio
The physical crop dictates how the biometric template overlays the image. A standard Hong Kong application requires an image measuring exactly 40mm wide by 50mm high. Within that frame, the head - measured from the point of the chin to the crown - must occupy a strict vertical space of between 32mm and 36mm.
The "crown" is the anatomical top of the skull, not the top of the hair. If a child has voluminous hair and you measure from the hair's peak, the actual face will render too small within the frame, triggering a rejection for insufficient facial area. Hong Kong immigration also mandates a pure white background and specifies that the digital file must be uploaded at a minimum resolution of 600 by 750 pixels, with a maximum file size of 5MB in the sRGB colour space.
Practical rule: Always compress the subject's hair with your fingers briefly before taking the photo to visually gauge where the actual skull line sits, allowing you to accurately estimate the required 32-36mm head height during the cropping phase.
Leaving insufficient headroom above the crown is another frequent point of failure. The Hong Kong template requires exactly 5mm of pure white space above the top of the skull before the edge of the image frame. Cropping the image so tightly that the hair touches the top border prevents the system from verifying the background uniformity.
4. Cropping an Australian Passport Size Photo
Managing the background and expression rules
While the core biometric logic overlaps, an australian passport size photo demands a different physical crop. The final image must measure between 35mm and 40mm in width and 45mm and 50mm in height. The head size requirement remains 32mm to 36mm from the chin to the crown.
Because the aspect ratio differs from the Hong Kong standard, you cannot submit the exact same image file to both portals without re-cropping. If you attempt to force a 40x50mm crop into a 35x45mm template, the system will stretch the face horizontally, invalidating the interpupillary distance calculation and making the jawline appear artificially wide. Ensure your formatting software outputs separate, distinct templates for each region.
Australian authorities are also exceptionally strict regarding expression and background tone. Unlike Hong Kong's pure white requirement, Australia mandates a plain, uniform light grey or cream background to prevent overexposure of the subject's skin edges. Infants under one year are granted leniency for a slightly open mouth, but their eyes must remain entirely open and clearly directed at the lens. Headbands, dummies, and visible dummy clips must be removed entirely. Check the 100% photo compliance refund policy of any processing service you use to ensure they guarantee against expression-based rejections, which are the most common cause of failure for infant applications in Australia.
5. Preserving Digital Image Integrity
What Australia passport photos requirements prohibit
Under the strict Australia passport photos requirements, any digital retouching of the face is expressly prohibited. You cannot use software to smooth the skin, remove temporary blemishes, or eliminate red-eye. If the camera flash reflects off the retina and causes red-eye, the image is irreparably compromised. Fixing it in post-production alters the pixel matrix of the iris, which the digital portal will detect as fraudulent manipulation.
Image integrity also extends to how the digital file is saved and transferred. Sending a photo from your smartphone to your computer via messaging apps like WhatsApp or Facebook Messenger heavily compresses the file to save bandwidth. This compression introduces "mosquito noise" - blocky, visible pixel artefacts around high-contrast edges like the hairline or jaw. It also automatically strips the EXIF metadata that some immigration portals use to verify the image's creation date and camera type.
Always transfer the original, unedited file via a direct USB connection, Apple AirDrop, or by emailing it to yourself as an 'Actual Size' attachment. If you are uploading the image to an external formatting tool, review their data privacy policy to confirm they process the raw file without downsampling it and verify that biometric data is deleted immediately after the compliance checks are completed.
Common Pitfalls & Troubleshooting
Even when the lighting and crop appear correct to the human eye, digital portals frequently flag invisible errors. Identifying the symptom allows you to apply the correct technical fix rather than simply guessing what went wrong.
The Asymmetrical Exposure Rejection
- Symptom: The portal rejects the image for "uneven lighting" or "shadows on face", despite the room feeling bright when the photo was taken. One half of the nose is visibly darker than the other.
- Fix: You have side-lit the subject. Reposition the subject so they are facing the light source directly. If you are using a window, their nose should point directly at the glass, ensuring the natural light falls symmetrically across both cheeks.
Perspective Distortion (The Large Nose Effect)
- Symptom: The system rejects the photo for invalid facial proportions, even though the subject is looking straight ahead. The ears are not visible, and the centre of the face appears disproportionately wide.
- Fix: The camera was held too close to the subject. Move the camera back to a minimum distance of 1.2 metres. Use your smartphone's optical zoom (usually the 2x or 3x setting) to reframe the face. This flattens the optical distortion and restores the correct anatomical geometry.
Edge Bleed
- Symptom: The scanner cannot detect the outline of the subject's shoulders or head, resulting in a "background not uniform" or "subject not isolated" error.
- Fix: The subject is wearing clothing that matches the background tone (e.g., a white shirt against a white sheet) or their hair is overexposed by bright backlighting. Change the subject into a dark, solid-coloured shirt to create a hard contrast line between their shoulders and the background.
Artificial Background Artefacts
- Symptom: The subject's hair looks unnaturally sharp, pixelated, or "cut out" against a pure white background, leading to a rejection for digital alteration.
- Fix: You have used a basic smartphone background-removal tool that aggressively clipped the hair strands. Either shoot on a genuine, wrinkle-free white background, or process the original image through dedicated biometric compliance software rather than consumer-grade photo editing apps.
FAQ
Can I use the exact same digital file for both Hong Kong and Australian applications? No. While the fundamental biometric requirements (no shadows, neutral expression, clear visibility) are similar, the physical crop dimensions differ. Hong Kong requires a 40x50mm ratio, whereas an Australian application requires 35-40mm by 45-50mm. You must format and crop the original raw image separately for each specific portal.
How do I measure the head height for infants with thick or voluminous hair? Passport agencies measure the head from the bottom of the chin to the anatomical top of the skull. You must mentally estimate where the physical skull ends, disregarding the volume of the hair above it. If you measure to the top of the hair, the actual face will render too small in the final crop and will fail the portal's automated check.
Are newborns required to keep their eyes open for Australian travel documents? Yes. While infants under twelve months are granted leniency for a slightly open mouth, their eyes must be entirely open and visible. For very young babies, it is best to capture the photograph immediately after they wake from a nap, when they are most likely to hold their eyes open steadily.
Will a digital upload portal accept a scanned physical photograph? Generally, no. Scanning a printed photo introduces paper texture, glare, and resolution degradation that biometric scanners easily detect as interference. Scanning also flattens the contrast and introduces digital noise. You should always format and upload the original, uncompressed digital JPEG file directly from the camera.