How to Meet German Passport Photo Requirements and Italian Biometric Standards
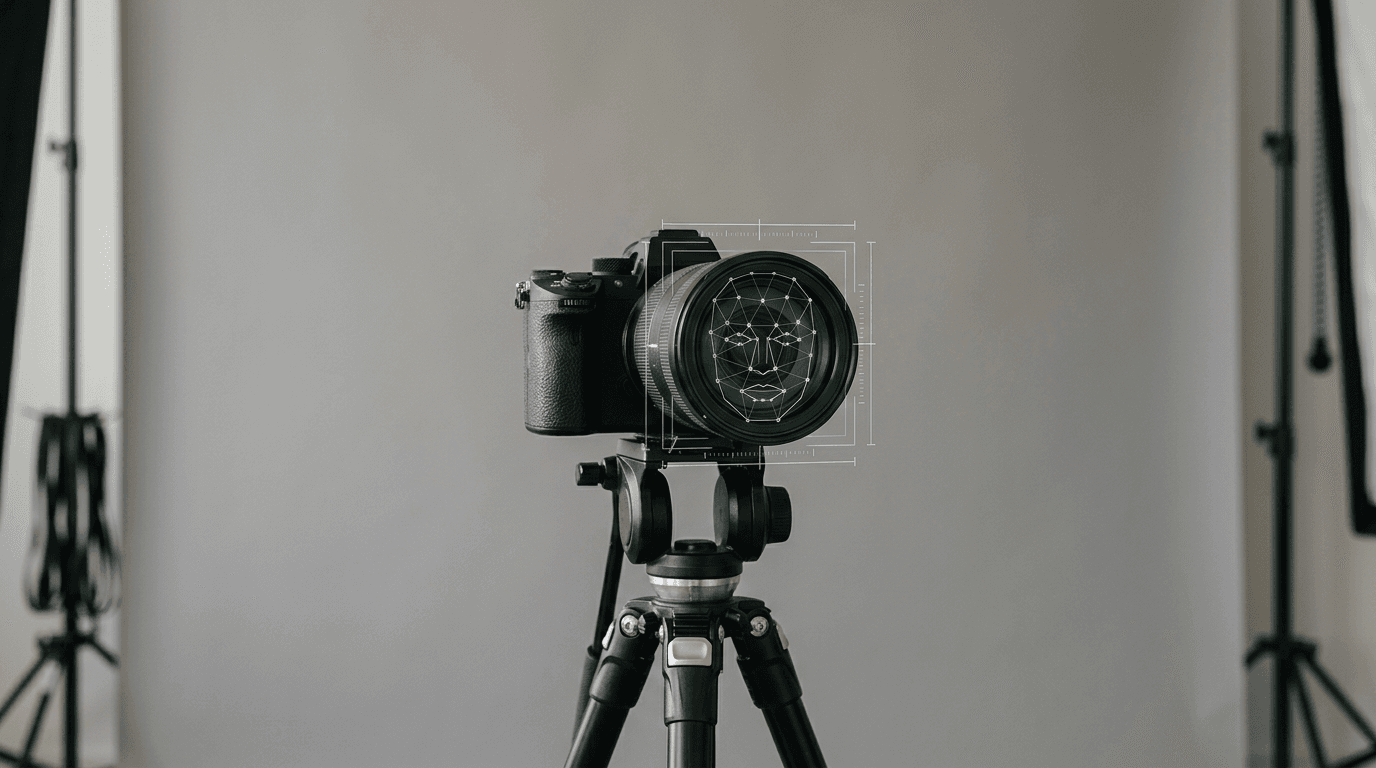
A common misconception among expatriates applying for dual citizenship or renewing European documents is that any Schengen-compliant image will automatically pass both German and Italian consulate checks. While the baseline biometric rules look identical on paper, failing to meet specific german passport photo requirements around background contrast or head-to-chin ratios is the leading cause of application rejection at the embassy. The optical scanners used by the Bundesdruckerei in Berlin do not process contrast the same way as the systems at the Istituto Poligrafico e Zecca dello Stato in Rome. You must build an image that satisfies the strictest constraints of both systems simultaneously, leaving zero room for interpretation at the consulate desk. This guide breaks down the physics of a compliant capture, the mechanical limits of passport scanners, and the exact dimensional standards you must lock in before you print.
Quick Summary
Preparing application imagery for German and Italian documents requires strict adherence to biometric templates, specifically concerning facial scaling, neutral expressions, and shadow-free backgrounds. Success depends on understanding the mechanical limits of consulate optical scanners and controlling the focal length during capture.
- Set the camera at eye level using a 50mm equivalent focal length to avoid facial distortion.
- Scale the face to occupy exactly 70 to 80 percent of the vertical frame.
- Ensure the background is a uniform, shadow-free light grey or stark white.
- Print the final image on 600 DPI photographic paper without automated scaling.
Table of Contents
- 1. Master the german passport photo requirements for lighting
- 2. Lock in the exact dimensions and scale
- 3. Position the subject to prevent optical distortion
- 4. Adapt the physical environment for infants
- 5. Process and print on approved substrates
- Common Pitfalls & Troubleshooting
- FAQ
- Recommended Reads
1. Master the german passport photo requirements for lighting
The most frequent cause of failure for European biometrics is a misunderstanding of how passport software reads background separation. Both German and Italian authorities base their rules on ICAO Document 9303, but they enforce the contrast rules differently at the point of capture. Lighting must be flat, even, and entirely devoid of directional shadows that could trick the software into misreading the jawline.
Consul scanners reject gradient shadows
German specifications explicitly recommend a light grey background for subjects with pale hair or skin. A stark white background poses a risk. The subject can blend into the frame. The italian passport photo requirements similarly mandate a strictly neutral expression and background. Italian consulates are historically more rigid regarding pure white backgrounds. The mechanics of the failure are identical. If the light source is too close to the subject, their body blocks the light. This creates a dark halo on the wall behind them. The consulate software interprets this shadow as a physical extension of the person's head. It instantly fails the width constraints of the biometric template.
To prevent this, you must separate the lighting of the subject from the lighting of the background.
Practical rule: Keep the subject exactly 50 centimetres away from the background wall to eliminate hard drop shadows around the shoulders, while placing the primary light source 1.5 metres in front of them.
If you must use a single light source, such as a window, the subject must directly face the window with the flat wall entirely behind them. Side lighting creates a shadow on one half of the nose, which the algorithm will flag as an asymmetrical facial feature.
2. Lock in the exact dimensions and scale
Getting the lighting right is useless if the final crop fails the physical overlay test at the desk. The official takes a transparent acrylic template and places it over your printed image. If the chin or crown of the head falls outside the etched lines, the application is rejected before it even reaches a digital scanner.

The italy passport photo size demands strict facial geometry
To satisfy the italy passport photo size regulations, the final physical print must measure exactly 35 by 45 millimetres. Within that frame, the distance from the bottom of the chin to the crown of the head (the top of the skull, ignoring the volume of the hair) must be between 32 and 36 millimetres. This means the face occupies 70 to 80 percent of the vertical space.
Meeting the germany passport photo requirements involves checking exactly the same facial geometry. It adds a strict horizontal constraint. The face must be perfectly centred. The horizontal distance between the centres of the pupils must measure exactly 8 to 10 millimetres in the final print. The mistake applicants make is cropping the image by eye on a smartphone screen. They assume "close enough" will pass. Digital cropping tools often scale the image arbitrarily upon export. If the chin-to-crown measurement is 31 millimetres or 37 millimetres, the desk official will hand it back.
When determining the exact framing specifications for complex cases, reviewing international baby passport photo requirements ensures you account for the strict scaling rules before you reach the print stage.
3. Position the subject to prevent optical distortion
The physical distance between the camera lens and the subject's face dictates the geometry of the resulting image. Biometric algorithms rely on measuring the exact distances between your pupils, the tip of your nose, and the corners of your mouth. Altering these distances optically is a guaranteed failure.
Wide-angle lenses alter the shape of the nose
The default lens on a modern smartphone is a wide-angle lens (typically equivalent to a 24mm or 28mm focal length). When you hold a wide-angle lens close to a subject's face to fill the frame, it creates severe barrel distortion. The nose appears bulbous and closer to the camera, while the ears recede into the background. A biometric scanner comparing this wide-angle photo to your actual face at border control will flag a mismatch in the facial topography.
To capture flat, accurate geometry, the camera must be positioned at a minimum distance of 1.2 to 1.5 metres from the subject. If using a smartphone, you must use the optical zoom lens (usually 2x or 3x, equivalent to 50mm or 70mm) to compress the image and flatten the facial features back to their true proportions. Furthermore, the lens must be positioned perfectly level with the subject's eyes. Shooting down from above shrinks the jawline, while shooting up from below foreshortens the forehead and exposes the nostrils - both of which break the biometric mapping.
4. Adapt the physical environment for infants
Photographing adults is a matter of compliance; photographing infants is a matter of engineering. The standard rules of posture and eye-level alignment remain in effect, but the mechanics of achieving them change entirely when the subject cannot support their own head.
Where consulates grant leeway for missing motor control
German and Italian authorities explicitly grant leeway for infants under one year of age. The head does not need to be perfectly straight, and the eyes can be slightly closed or looking away from the lens. However, they grant absolutely zero leeway regarding foreign objects in the frame. The most common mistake parents make is supporting the baby's head with a hand, or leaving a pacifier, a patterned blanket, or a car seat strap visible in the shot. The biometric scanner cannot differentiate between a parent's finger and a facial anomaly, leading to immediate rejection.
The mechanical fix is to lay a heavy, matte white or light grey sheet over a flat surface or baby bouncer. Lay the infant on the sheet, ensuring the fabric is pulled taut to eliminate deep shadow-casting creases. Shoot from directly above, ensuring your own body does not cast a shadow over the child's face. If background creases prove impossible to eliminate, a dedicated UK baby passport photo maker platform can algorithmically strip the non-compliant background and replace it with a uniform digital canvas.
5. Process and print on approved substrates
The final hurdle is turning a perfect digital file into a physical object that the consulate scanner can read. Even if you have met every biometric standard, the physical medium of the print can cause the image to fail at the finish line.
Home inkjets fail the consulate dot-pitch tests
Both German and Italian consulates mandate that photos be printed on high-quality photographic paper with a minimum resolution of 600 DPI (dots per inch). They typically accept both matte and high-quality glossy finishes, provided there are no surface textures, creases, or ink smudges.
The mistake applicants make is printing the image on a standard home inkjet printer. Inkjet printers lay down microscopic horizontal lines of wet ink. While this looks fine to the human eye, the high-resolution flatbed scanners used at the consulate desk will pick up this micro-banding. The scanner's software interprets the ink dots and horizontal lines as a corrupted file or an intentional security tampering attempt, and automatically locks out the scan.
Photographs must be produced using thermal dye-sublimation printers - the standard technology used in professional photo kiosks and studios. Additionally, you must ensure the printer software does not apply automatic colour correction, skin-smoothing algorithms, or "borderless printing" scaling, all of which will alter the strict 35x45mm geometry you established in step two.
Common Pitfalls & Troubleshooting
When a photo fails, the desk official rarely has the time or technical vocabulary to explain why. They simply state the image is non-compliant. Here is how to diagnose and fix the specific failures that look identical from the outside.
1. The biometric scanner rejects the eye line
- Symptom: The desk software flags the eyes as obscured, despite the subject not wearing glasses and having no hair over their face.
- Fix: Check the print for microscopic glare on the iris. This is frequently caused by using an LED ring light placed directly in front of the subject, which creates an unnatural white circle over the pupil. The scanner interprets this as a cataract or a physical obstruction. Retake the image using bounced ambient light rather than a direct, forward-facing LED.
2. The physical dimensions fail at the desk
- Symptom: The digital file is perfectly framed, but the official measures the chin-to-crown distance at 30mm instead of the required 32mm.
- Fix: Disable "Scale to Fit" in your print dialogue box. This is the most often the real cause of dimensional failures. Printer software artificially shrinks a 35x45mm file by 3 to 5 percent to ensure it does not bleed over the edge of the paper. You must print at exactly 100% scale.
3. Background gradient rejection
- Symptom: The image is rejected for an uneven background colour, even though you stood in front of a flat, freshly painted wall.
- Fix: This is caused by light fall-off (the inverse square law of light). The wall closest to the ceiling light is brighter than the wall near the floor. To fix this, you must move the subject further from the wall and introduce a secondary light source aimed solely at the background to ensure uniform illumination from top to bottom.
4. Artificial software artifacts
- Symptom: The application is rejected weeks later by the central processing authority, citing image manipulation.
- Fix: Never use red-eye removal tools or skin-smoothing filters. If a photo has red-eye, you must retake it with diffused lighting. Consulate software runs forensic checks on the image file; if it detects that pixels over the pupils have been digitally painted over, it will flag the image as a forged document. If you require technical assistance diagnosing file rejections, reviewing a technical help centre can clarify which software modifications are strictly illegal.
FAQ
Can I wear prescription glasses in the photograph? While technically permitted by ICAO standards if the frames do not obscure the eyes and there is zero glare on the lenses, German and Italian consulates strongly advise removing them. Achieving zero glare is incredibly difficult, and heavy frames that cast a shadow on the cheekbones will result in an automatic rejection. Removing them is the safest approach.
How recent must the photograph be for an application? Both German and Italian authorities mandate that the photograph must have been taken within the last six months. If you submit a photo that matches an older visa or passport in their system, or if the infant's appearance has significantly changed, the desk official will require a new image.
Do infants need their eyes fully open for these passports? For infants under one year old, Italian and German authorities permit the eyes to be closed or partially closed. However, once the child is over 12 months, the standard rules apply, and the eyes must be fully open and looking directly at the camera lens.
What happens if my photo is rejected at the consulate desk? You will be sent away to take a new photograph, which usually means paying a premium at a nearby professional studio and risking the expiration of your appointment slot. Securing a 100% refund policy on your digital preparation tool ensures you are financially covered if the image fails the manual desk check.