How to safely take your own passport photo at home
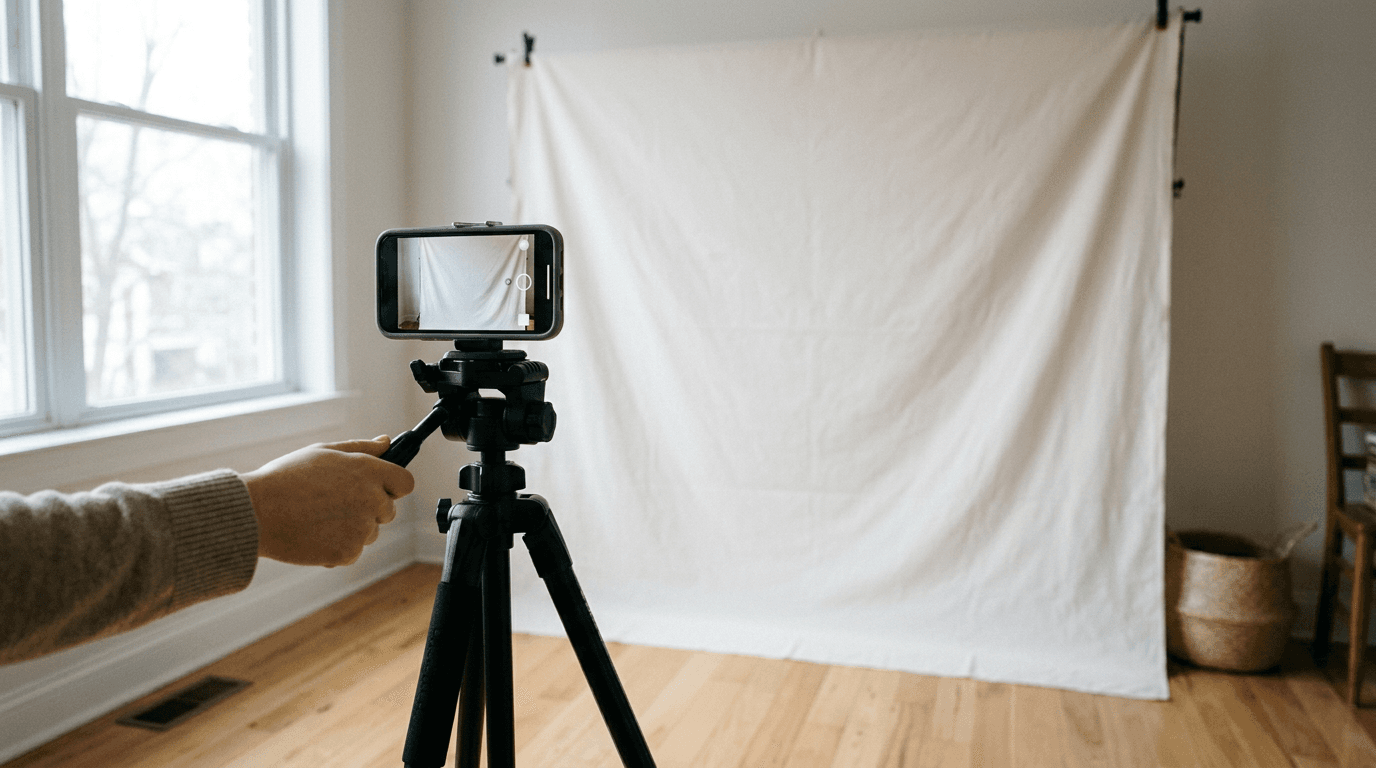
Balancing an infant on one knee while trying to keep their head straight inside a cramped supermarket photo booth is a rite of passage most parents would rather skip. The harsh fluorescent lighting guarantees heavy shadows, and the rigid seating makes achieving the required eye-line almost impossible. Learning how to take your own passport photo changes this dynamic entirely. By moving the process to your living room, you control the lighting, the timing, and the infant's comfort. This guide explains the exact mechanics of capturing, formatting, and submitting compliant identification photos without leaving the house, ensuring you meet strict biometric standards the first time.
Quick Summary
Taking an identification photo at home involves using natural daylight, a neutral background, and smartphone cameras to capture biometric data that meets strict government guidelines. This method eliminates the need for studio visits while allowing infinite retakes to secure a compliant image.
- Natural, indirect window light prevents the harsh shadows that cause instant rejections.
- The camera must be positioned at the subject's exact eye level to avoid distorting facial geometry.
- Infants are best photographed lying flat on a plain white or cream sheet rather than propped up.
- Digital validation tools check biometric markers before you upload passport photo files to official portals.
Table of Contents
- What makes a photo compliant
- Step 1: Setting up the environment
- Step 2: Positioning the subject
- Step 3: Controlling the camera and capture
- Step 4: Formatting the image
- Step 5: Submitting the digital file
- Common Pitfalls & Troubleshooting
- FAQ
- Recommended Reads
What makes a photo compliant
Before manipulating a camera, it is vital to understand what government biometric software is actually measuring. When a digital image enters a portal, algorithms scan for specific data points: the distance between the pupils, the vertical space from the chin to the crown of the head, and the clarity of the jawline against the background. A photo fails when shadows, angles, or poor lighting obscure these markers. The goal is not to take a flattering portrait; the goal is to capture an entirely flat, neutral map of the facial features.
Step 1: Setting up the environment
The foundation of biometric compliance is flat, even illumination across the face. Government scanners reject images where shadows obscure the jawline, eye sockets, or ears. To achieve this at home, position your subject facing a large window during daylight hours. The mechanics here rely on diffused natural light, which wraps around the facial features without creating hard edges. Turn off every artificial light in the room; mixing the blue hue of daylight with the orange cast of overhead ceiling bulbs confuses the camera's white balance and creates an artificial skin tone that border officials flag as digitally altered.

The mistake most people make in this step is photographing the subject standing flat against a wall. This guarantees a sharp, dark drop-shadow directly behind the head or shoulders, which violates background uniformity rules. Instead, pull the subject exactly half a metre away from the wall. This distance allows the light to fall evenly behind them, washing out shadows while keeping the background in focus. When working with newborns, lay a plain white or cream sheet tightly over a flat surface, ensuring there are no creases visible near the head. Do not prop them up with pillows, as this bends their neck and alters their facial proportions.
Step 2: Positioning the subject
Biometric software measures the specific geometry of the human face. It calculates the exact distance between the pupils, the tip of the nose, and the bottom of the chin. For these measurements to be accurate, the face must be perfectly square to the lens. The mechanics of this require the subject to look directly into the camera barrel with a neutral expression - mouth closed, no smiling, and eyes fully open.
The most frequent error here is the vertical tilt. Adults taking selfies tend to raise the camera and tilt their chin up to catch the light, which drastically alters the perceived length of the nose and the jawline. To fix this, ensure the lens is held exactly at the subject's eye level, not chest level or above their forehead.
Practical rule: If you can see the underside of the subject's chin or the top of their scalp in the viewfinder, the camera angle is wrong and the resulting geometric measurements will fail.
For infants, achieving a neutral expression is an exercise in patience. You cannot instruct a newborn to stare at a lens, so wait for a calm period shortly after feeding. Ensure their hands are pulled away from their face and that no dummies, pacifiers, or toys are visible anywhere in the frame. The face must be entirely unobstructed by hair, clothing, or shadows cast by your own hands holding the camera above them.
Step 3: Controlling the camera and capture
Modern smartphones possess image sensors capable of capturing far more detail than government guidelines require, but their default lenses introduce a severe problem: focal distortion. The front-facing cameras on phones use wide-angle lenses designed to fit multiple people into an arm's-length shot. When you use a wide-angle lens close to a face, it artificially inflates the size of the nose and pushes the ears backwards, changing the subject's biometric profile entirely.
The mechanics of capturing a flat, accurate portrait dictate that you must use the primary, rear-facing camera. Stand roughly 1.5 to 2 metres away from the subject. At this distance, optical distortion disappears. Because you are further back, the subject will appear smaller in the frame. Use the optical zoom function (typically the '2x' or '3x' setting) to frame the head and upper shoulders, leaving plenty of empty space above the hair and to both sides. Never use the digital zoom beyond the optical limits, as this degrades the pixel quality.
The mistake practitioners see constantly is the attempt to take passport photo online checks require by holding the phone at arm's length. This triggers immediate rejection during automated border checks because the facial map generated by the digital file does not match the physical face standing at the electronic gate. Always have a second person hold the device, or mount the phone on a tripod and use a timer.
Step 4: Formatting the image
Once the raw image is captured, it must be formatted to meet highly specific dimensional and file-size constraints. Different jurisdictions have entirely different rules. For instance, the UK mandates a 35x45mm physical equivalent with a light grey or cream background, while the US requires a 2x2 inch square on pure white. When you figure out how to get digital passport photo files ready, you are not just cropping the edges; you must ensure the head size occupies the required proportion of the total vertical height of the image.
The mechanics of formatting involve adjusting the crop so the eyes sit in the middle of the frame, ensuring the background is uniform. A specialised UK Baby Passport Photo Maker or similar biometric software handles this by automatically identifying the head, cropping the borders, and replacing uneven backgrounds with compliant digital tones. You can consult specific regional dimensions in detailed UK & International Baby Passport Photo Requirements & Guides.
The mistake that ruins otherwise perfect photos is manual editing. Using standard smartphone gallery apps to manually erase backgrounds or applying auto-enhancement filters alters the pixel structure of the face. Government uploading portals run digital forensics on submitted files; they will instantly reject an image if they detect skin smoothing, artificial sharpening, or jagged cut-out lines around the hair.
Step 5: Submitting the digital file
The final hurdle in the digital workflow is delivering the file to the government portal intact. Official application systems are notoriously rigid about file extensions, colour spaces, and maximum file sizes. To successfully get digital passport photo documentation approved, the file must typically be in a standard JPEG format, saved in the sRGB colour space, and fall within a specific size bracket - often between 50KB and 10MB, depending on the country.
The mechanics of a successful upload require preserving the original resolution generated by your formatting software. Save the finalised file directly to the hard drive or local storage of the device you will use to fill out the application.
The most common failure mode at this stage is file compression caused by messaging apps. A frequent scenario involves a parent taking the photo on their phone, sending it via WhatsApp to their laptop, and then uploading that version. Messaging apps aggressively compress images to save bandwidth, stripping away the micro-contrast and resolution required by biometric scanners. The portal will either reject the file immediately for being too small, or worse, accept a blurred image that gets rejected by a human examiner two weeks later. Always transfer the file via a direct cable connection, email it to yourself at 'Actual Size', or use a secure cloud drive. If you use a professional service, relying on a 100% Refund Policy gives you financial protection if a subtle formatting error causes a rejection.
Common Pitfalls & Troubleshooting
- Asymmetrical shadows across the face
- Symptom: One side of the face (usually the cheek or jawline) is noticeably darker than the other.
- Diagnosis: The light source is strictly on one side, usually a single window without a reflector. This is the most frequent cause of automated rejections.
- Fix: Turn the subject so they are facing the window directly, rather than having the window to their left or right. If facing the window is impossible, place a large piece of white cardboard opposite the window to bounce light back onto the shadowed cheek.
- Red-eye or bright white spots on the pupils
- Symptom: The centre of the eyes appears glowing red or features a large, distracting white dot.
- Diagnosis: Flash photography reflecting off the retina or a very bright, concentrated artificial light source.
- Fix: Disable the smartphone camera flash entirely. Rely strictly on steady, ambient daylight.
- The background looks heavily textured or grey
- Symptom: Instead of a smooth, uniform colour, the background is full of digital noise (grain) or visible fabric creases.
- Diagnosis: The room is too dark, causing the camera to artificially brighten the image by raising its ISO setting, which introduces digital noise. Alternatively, the infant is lying on a wrinkled sheet.
- Fix: Stretch the background sheet completely taut and secure it with tape. Move the setup closer to a window to flood the area with natural light, forcing the camera to use a lower, cleaner ISO setting.
- The head is poorly framed
- Symptom: The subject's shoulders are missing, or the top of the hair touches the edge of the frame.
- Diagnosis: Cropping the photo too tightly in the camera before taking the shot.
- Fix: Zoom out. Leave a generous margin of empty space around the subject's entire head and torso. Let the digital formatting software handle the exact biometric crop during the editing phase.
FAQ
Can I use a selfie to apply for my documents?
No. Selfie cameras use wide-angle lenses that distort the true distance between your nose and ears. This distortion fails the geometric checks used by electronic border gates. Always use the rear-facing camera held by someone else or mounted on a tripod.
What is the best time of day to photograph an infant for this?
Mid-morning is typically ideal. The natural daylight is bright but indirect, preventing harsh shadows. Furthermore, infants are generally more cooperative and alert shortly after a morning feed, making it easier to capture them with open eyes and a neutral expression.
Are you allowed to wear glasses in the picture?
In most major jurisdictions, including the UK and the US, glasses are strictly prohibited in identification imagery unless worn for a permanent medical reason (which requires a signed doctor's note). Even then, the frames must not obscure the eyes, and there can be no glare on the lenses. It is always safer to remove them entirely before capturing the image.
How do I know if my file meets the file size requirements?
You must check the file properties on your computer or phone. Right-click the image on a computer, or swipe up on a smartphone, to view its details. If the file is under 50KB, it has likely been compressed and will be rejected for low resolution. If it is over 10MB, you will need to compress the JPEG slightly before the portal will accept it.
Why did the official portal accept my photo but a human examiner later rejected it?
Automated portals initially check for basic dimensions, file size, and standard facial alignment. They cannot always detect subtle issues like a slightly uneven background colour, minor glare, or closed eyes on an infant. A human examiner performs a final visual check against strict manual guidelines. This is why following lighting and background rules is critical even if an online checker initially passes the file. If you run into repeated issues, reviewing a dedicated Help Center can clarify the specific technical reasons behind visual rejections.