How to Take the Perfect Passport Photo
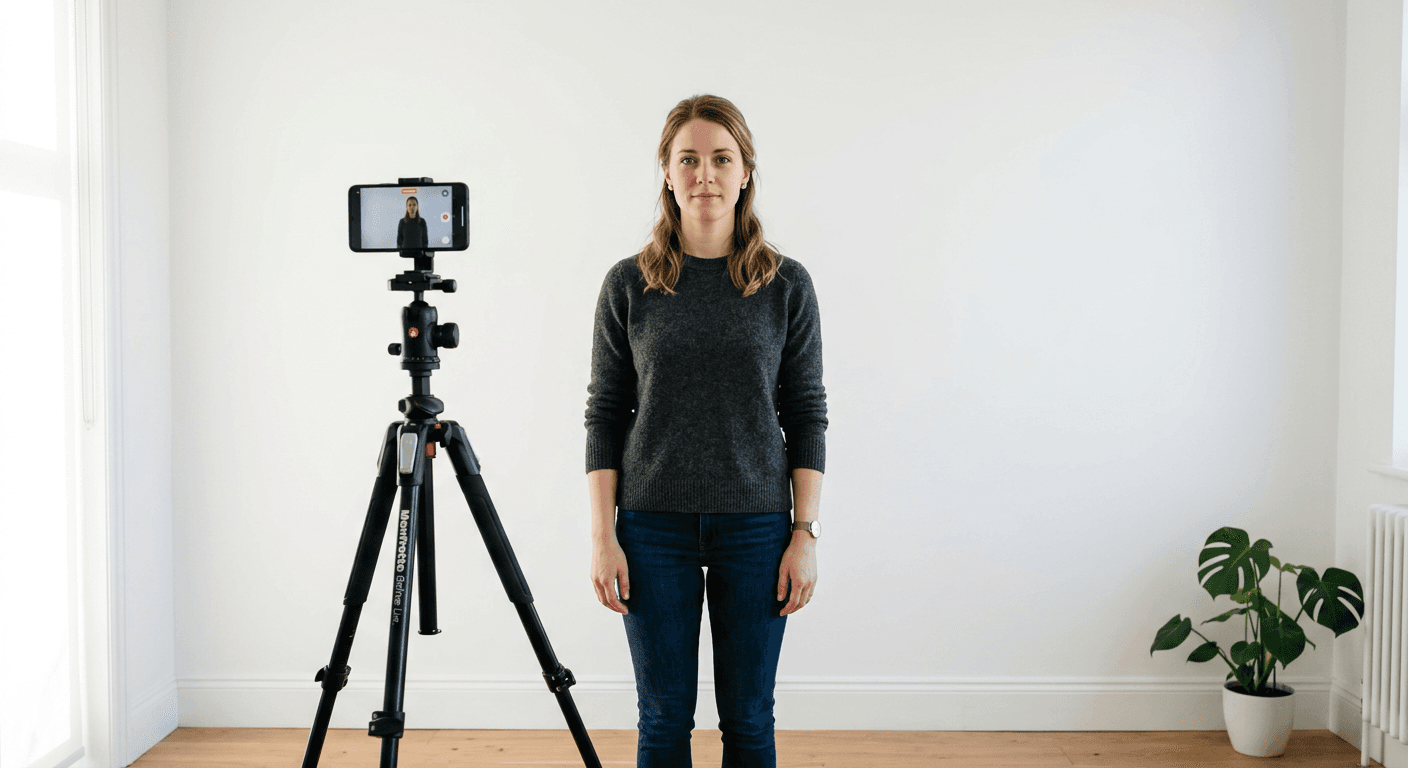
Trying to snag the perfect passport photo without trekking to a pharmacy or dealing with an annoyed shop clerk is practically a rite of passage these days. Most people assume that getting a compliant shot requires professional studio lighting and a DSLR camera that costs more than their vacation, but honestly? That is just nonsense. If you have a decent smartphone and a blank wall, you are already halfway there to mastering your own passport photo at home.

Quick Summary
A passport photo must meet strict government regulations regarding lighting, facial expression, and background color to ensure identity verification. By following precise framing and technical standards, you can successfully take your own passport photo at home using a smartphone, saving both time and unnecessary stress during your travel preparations.
- Use a plain, light-colored background without shadows.
- Maintain a neutral expression with your eyes clearly visible.
- Ensure even, front-facing lighting to avoid glare.
- Verify dimensions align with official government requirements.
Table of Contents
- Quick Summary
- Mastering Your Own Passport Photo
- Essential Tips for a Compliant Passport Photo Check
- Reviewing Your Passport Photo Sample
Mastering Your Own Passport Photo
If you ask me, the secret to a great result is all about preparation. You do not need a fancy setup. A plain white or off-white wall acts as the perfect backdrop - just make sure there are no distracting posters or hanging picture frames behind you. Shadows are the enemy here. If you stand too close to the wall, you will create a dark silhouette that will get your application rejected faster than you can say "denied."
Setting Up Your Workspace
Find a spot near a window during daylight hours. Natural light is far more forgiving than that harsh overhead kitchen bulb that makes everyone look like a tired vampire. If you need help understanding the specific requirements for your country, you might want to look at a comprehensive passport photo guide to ensure you aren't missing any hidden rules. Keep your camera at eye level - not above, not below.
Essential Tips for a Compliant Passport Photo Check
Once you have your lighting locked down, it is time to focus on the pose. The goal is a neutral expression. No grinning, no winking, no "duck face." Just look straight into the lens as if you are staring down a mildly interesting wall. Your hair should be tucked away so it does not obscure your eyebrows or eyes; the authorities need to see the shape of your face clearly.
Avoiding Common Mistakes
Many applicants forget to take off their glasses. If you have any questions about these nuances, the team at the official help center can provide clarity on what is acceptable for your specific document type. Keep your shoulders square and your neck relaxed. It feels a bit robotic, but that is exactly what the facial recognition software is looking for. Think of it less as a portrait and more as a data point.
Reviewing Your Passport Photo Sample
After you have snapped a few dozen frames - seriously, do not stop at just one - it is time to look at your passport photo sample to see which one makes the cut. Use a simple editing tool to crop the image to the correct dimensions. Remember, cropping is not just about making it look nice; it is about meeting the exact ratio required by the passport office.
If the image looks slightly pixelated or the lighting is uneven, just try again. It costs you nothing but time, which is infinitely better than paying for a retake at a shipping center. If you still feel uncertain about the process, you can always contact our support team for assistance. Take your time, breathe, and remember that even the most "official" looking photos started as just a simple snapshot in someone's living room.