How to Take Your Own Passport Photo at Home: A Comprehensive Guide for 2026
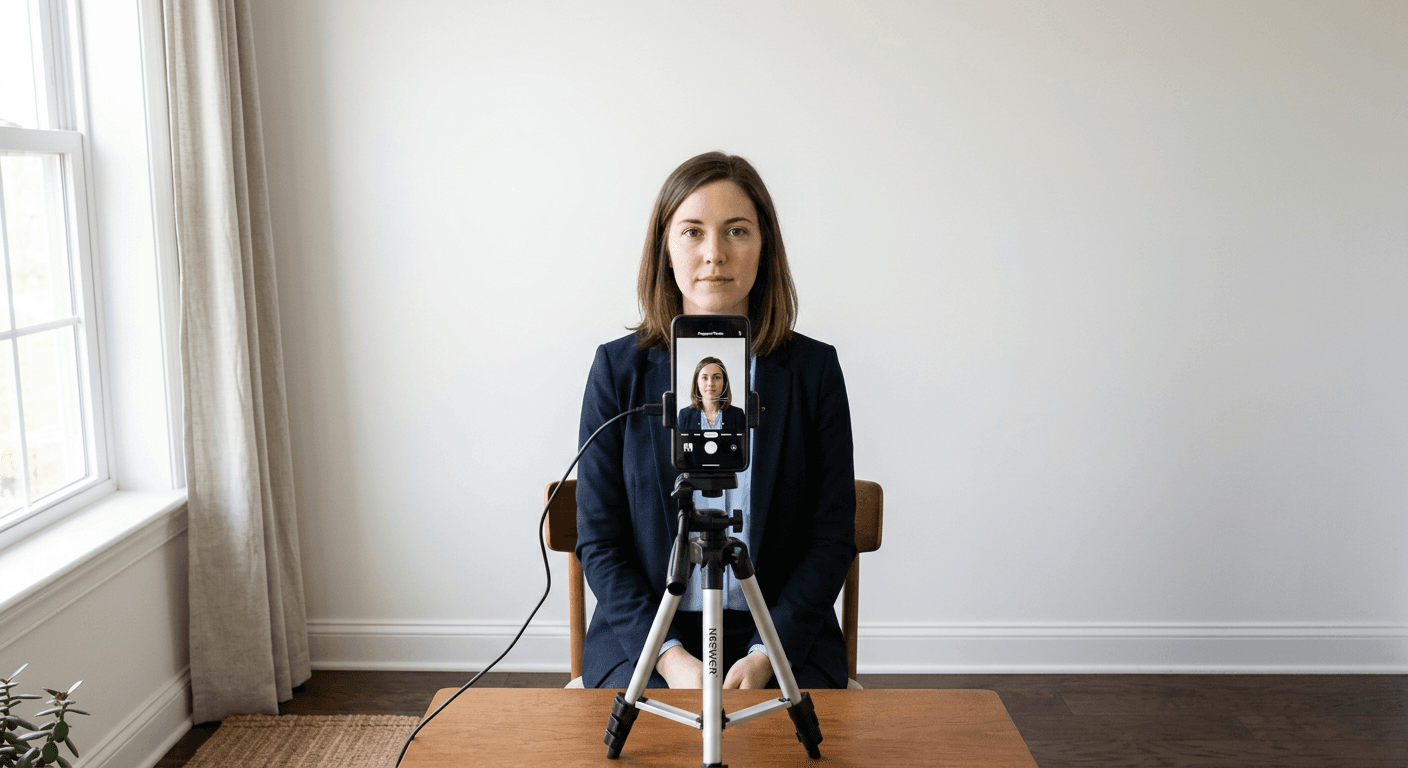
Capturing a valid passport photo that meets strict government standards can often feel daunting, yet it is entirely possible to achieve professional results from the comfort of your own home. By leveraging modern smartphone technology and a clear understanding of biometric requirements, you can successfully take your own passport photo while ensuring full compliance with official regulations.

Quick Summary
Taking your own passport photo requires adherence to specific lighting, composition, and background rules to ensure the image meets international biometric standards. By using a plain, light-coloured background and maintaining a neutral expression, you can create an electronic passport photo that is ready for digital submission or professional printing at home.
- Ensure even, shadow-free lighting on the subject's face.
- Maintain a neutral expression with eyes fully visible.
- Use a plain white or off-white background without patterns.
- Verify the final image meets official head-size and resolution requirements.
Table of Contents
- Understanding Biometric Requirements
- Essential Equipment and Setup
- Step-by-Step Guide to Taking the Perfect Photo
- Common Pitfalls and Troubleshooting
- FAQ
- Recommended Reads
Understanding Biometric Requirements
Government-compliant photos are governed by strict biometric standards designed to facilitate automated facial recognition software. When you decide to take your own passport photo, your primary goal is to provide a clear, undistorted representation of the applicant. Key elements include uniform lighting, a neutral background, and precise head positioning. Any deviation from these standards, such as heavy shadows across the face or an obscured forehead, can lead to application rejection.
It is essential to understand that an electronic passport photo is not just a standard portrait. Regulations typically specify the exact ratio of the head to the frame, the required background colour (usually plain cream or light grey), and the avoidance of any peripheral distractions. You can consult the official guide provided by passport authorities to ensure you are aligning with the specific mandates for your country, as these can occasionally vary by jurisdiction.
Essential Equipment and Setup
To capture a high-quality biometric passport photo, you do not need expensive photography studio equipment. A modern smartphone equipped with a high-resolution camera is sufficient. The most critical factor is the environment; find a room with natural, indirect light, such as facing a window during the day. Avoid direct sunlight, which creates harsh contrasts and shadows that the authorities will flag as non-compliant.
Positioning is equally vital. You will need a plain wall as a backdrop. If a plain wall is not available, a white sheet stretched taut can serve as a suitable alternative, provided it is free of creases and patterns. Stability is key, so if possible, use a tripod or prop your phone up against a steady object at eye level. For further assistance regarding the technical requirements of your image file, you may wish to visit the help section to understand the optimal resolution and file formatting needed for digital submissions.
Step-by-Step Guide to Taking the Perfect Photo
- Prepare the subject: Ensure the hair is away from the face, glasses are removed (unless required for medical reasons with proof), and the clothing does not blend into the background colour.
- Set the distance: Place the subject approximately 1.5 metres away from the wall to minimise shadows. Stand about 1.5 to 2 metres away from the subject when taking the shot.
- Frame the shot: Use your camera's grid feature to align the subject's eyes with the upper third of the frame, ensuring there is a clear margin above the head.
- Capture multiple frames: Take several photos to ensure you have a variety of options, checking for any subtle "red-eye" or involuntary expressions.
- Review and verify: Examine the photos to ensure the eyes are open, the mouth is closed in a neutral expression, and there is no glare on the skin or background.
Pro Tip: If you are photographing an infant or small child, place them on a white sheet on the floor and take the photo from directly above. This removes the need for the child to sit upright and ensures a clear, compliant angle.
Common Pitfalls and Troubleshooting
One of the most frequent reasons for rejection is poor lighting. Shadows cast behind the subject or on one side of the face are unacceptable. If you notice shadows, move closer to your light source or adjust the subject's position relative to the window. Another common issue involves facial expression; even a slight smile can be interpreted by software as a deviation from the neutral expression requirement.
If you have concerns about the final output, consider the privacy policy and security features of any software you use to process your images. Many users encounter issues with the file size or aspect ratio. Always double-check that your photo is not excessively compressed, as this can degrade the quality of biometric markers required by immigration and border control software.
FAQ
- Can I wear glasses in my passport photo? Generally, no. Most countries prohibit glasses in passport photos to avoid glare and reflections on the lenses, which can obscure the eyes.
- What is the best background colour? Most jurisdictions require a plain, solid white or off-white, light grey, or cream background. Avoid patterns, textures, or shadows.
- How do I ensure my expression is neutral? Keep your mouth closed and avoid smiling, frowning, or raising your eyebrows. Look directly into the camera lens with a relaxed, blank expression.
- Is it possible to edit my photo after taking it? You can perform basic cropping and background cleanup to meet requirements, but you must not alter any facial features or use filters that change your appearance, as this constitutes fraud.