How to Take Your Own Passport Photo at Home: A Step-by-Step Guide
The moment you realise your passport application is stalled because the photo was rejected is the moment you understand why the rules exist. It is rarely the camera quality that fails an application; it is the lighting, the background, or the positioning. Taking your own passport photo at home is entirely possible, but it requires treating your smartphone like a compliance tool rather than a camera.
Quick Summary
Taking your own passport photo involves setting up flat, even lighting, standing against a plain, light-coloured background, and capturing an image that meets strict biometric standards.
- Lighting is everything: Shadows on the face or background are the primary cause of rejection.
- Positioning matters: The camera must be at eye level, and the subject must look directly at the lens.
- Backgrounds must be plain: Use a white or light grey wall, free of patterns or objects.
- Software can help: Dedicated tools can format the image to exact government specifications.
Table of Contents
- 1. Prepare Your Background and Lighting
- 2. Position the Subject and Camera
- 3. Capture the Image
- 4. Format and Check Compliance
- Common Pitfalls & Troubleshooting
1. Prepare Your Background and Lighting
The foundation of a compliant passport photo is the environment in which it is taken. Government guidelines mandate a plain, light-coloured background - typically white, cream, or light grey. A textured wall, a door frame, or a patterned curtain will result in immediate rejection. If you do not have a suitable wall, a large sheet of plain white card or a tightly pulled, uncreased white sheet can work, provided it is completely flat.

Lighting is the most critical element. The goal is flat, even illumination across the face and the background. Natural light is best, but it must be indirect. Standing facing a large window on an overcast day provides excellent, diffused light. Direct sunlight creates harsh shadows under the nose and chin, which biometric scanners cannot process. If you must use artificial light, avoid overhead bulbs that cast shadows downwards. Instead, use two lamps placed at equal distances on either side of the subject to balance the light.
Practical rule: If you can see a shadow on the wall behind the subject, or a shadow on one side of their face, the lighting is not even enough for a passport photo.
2. Position the Subject and Camera
Positioning dictates whether the biometric markers - the distance between the eyes, the size of the head - can be accurately measured. The subject should stand about half a metre away from the background to minimise shadows falling on the wall behind them.
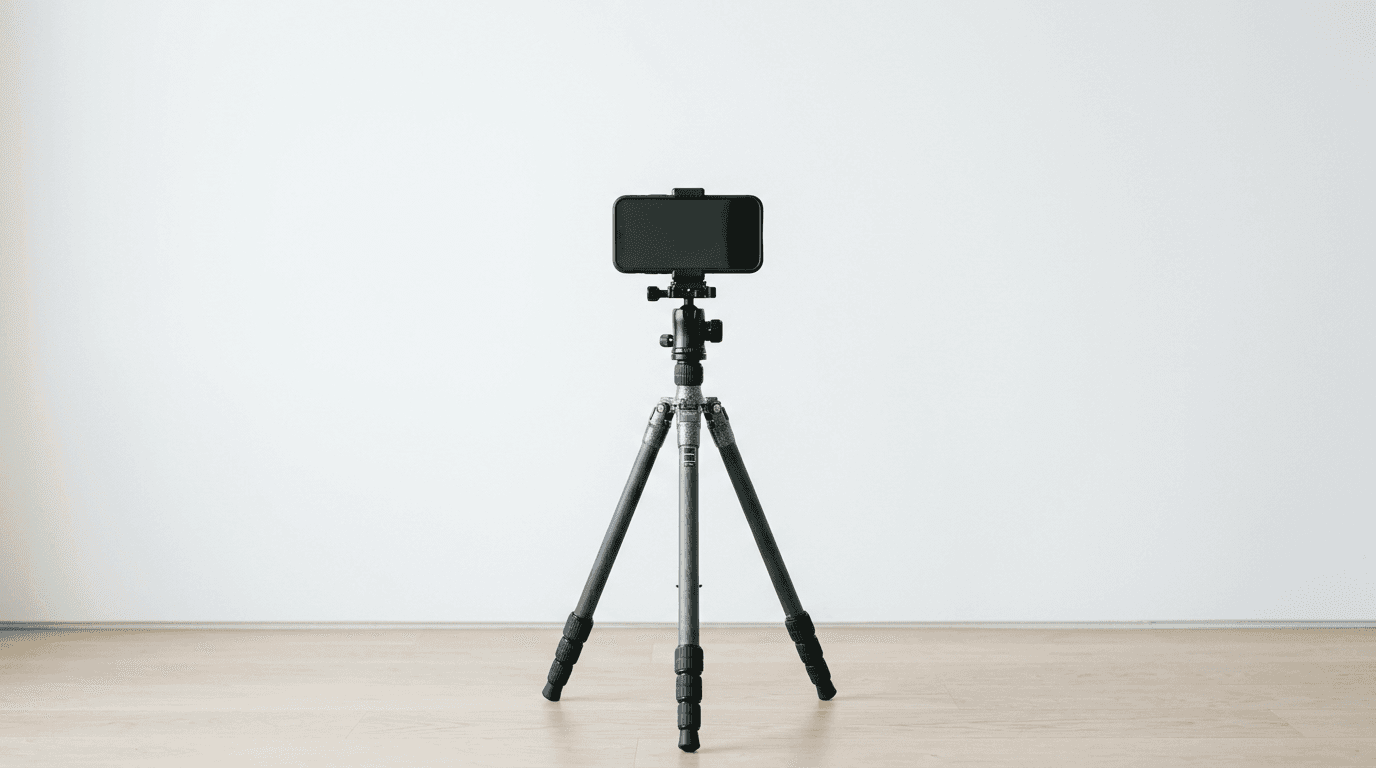
The camera must be positioned exactly at eye level. If the camera is too high, the subject appears to be looking up; if it is too low, they appear to be looking down. Both distort the facial proportions. Use a tripod if possible, or have someone else hold the phone. Selfies are almost universally rejected because the focal length of a front-facing camera distorts the face, making the nose appear larger and the ears smaller.
The subject must face the camera squarely, with their head straight and shoulders visible. The expression must be neutral: no smiling, mouth closed, and eyes fully open. Glasses should ideally be removed to avoid glare, even if the issuing authority permits them, as reflections on the lenses are a common failure point.
3. Capture the Image
When you are ready to take the photo, ensure the smartphone camera is set to its standard lens, not a wide-angle or portrait mode. Portrait modes use software to blur the background (the bokeh effect), which alters the edges of the hair and face, rendering the photo non-compliant.
Take several photos. Leave plenty of space around the head and shoulders; it is much easier to crop a photo that is too wide than to fix one where the top of the head is cut off. Ensure the focus is sharp on the eyes. A slightly soft focus might look flattering, but biometric software requires crisp edges to measure facial features accurately.
When reviewing the images on the phone screen, zoom in on the eyes. If you can see reflections of the window or lights (catchlights), that is fine, but the iris and pupil must be clearly visible and not obscured by glare or drooping eyelids. If you are taking a photo of an infant, ensure no hands or supporting arms are visible in the frame. Our guide on baby passport photo requirements details the specific allowances for infants.
4. Format and Check Compliance
Once you have a raw image with good lighting and positioning, it must be formatted to the exact dimensions required by the issuing authority. For a UK passport, this is 35mm wide by 45mm high, with the head measuring between 29mm and 34mm from the crown to the chin.
Attempting to crop this manually using standard photo editing software often leads to incorrect proportions. You need to take passport photo online formatting seriously. Using dedicated biometric photo software ensures the image is scaled and cropped accurately. These tools often include automatic background removal, which is crucial if your original wall had slight imperfections or gradients in the lighting.
When you get passport photo online services to process the image, they typically run automated checks against common biometric markers. This step is where you verify that the file size and resolution meet the digital upload requirements (often between 50KB and 10MB, depending on the portal). Do not apply any filters, contrast adjustments, or blemish removal. Any digital alteration of the facial features will cause the photo to be flagged as manipulated.
Common Pitfalls & Troubleshooting
Even with careful preparation, photos can fail compliance checks. Here are the most frequent issues and how to resolve them.
Symptom: The digital upload portal rejects the photo stating "background not plain" or "shadows detected". Diagnosis: The lighting was uneven, causing a gradient on the background, or the subject was standing too close to the wall, casting a hard shadow. Fix: Move the subject further from the wall and ensure the light source is directly in front of them, not off to one side. If using natural light, wait for an overcast day or move to a window with diffused light.
Symptom: The portal states "face proportion incorrect" or "head too large/small". Diagnosis: The photo was cropped incorrectly before upload, or the camera was held too close to the subject's face. Fix: This is the most common real cause of rejection. Do not crop the photo manually. How to get passport photos online correctly involves using a formatting tool that overlays a biometric template to ensure the head size falls within the exact millimetre requirements.
Symptom: The photo is rejected for "red eye" or "glare". Diagnosis: The camera flash fired, or the subject is wearing glasses that reflected the light source. Fix: Turn off the camera flash entirely. Ensure the room is bright enough without it. If the subject must wear glasses for medical reasons, tilt the frames slightly downwards to angle the reflections away from the lens, or preferably, remove them entirely if the issuing authority permits it.