How to Upload and Check Your Passport Photo
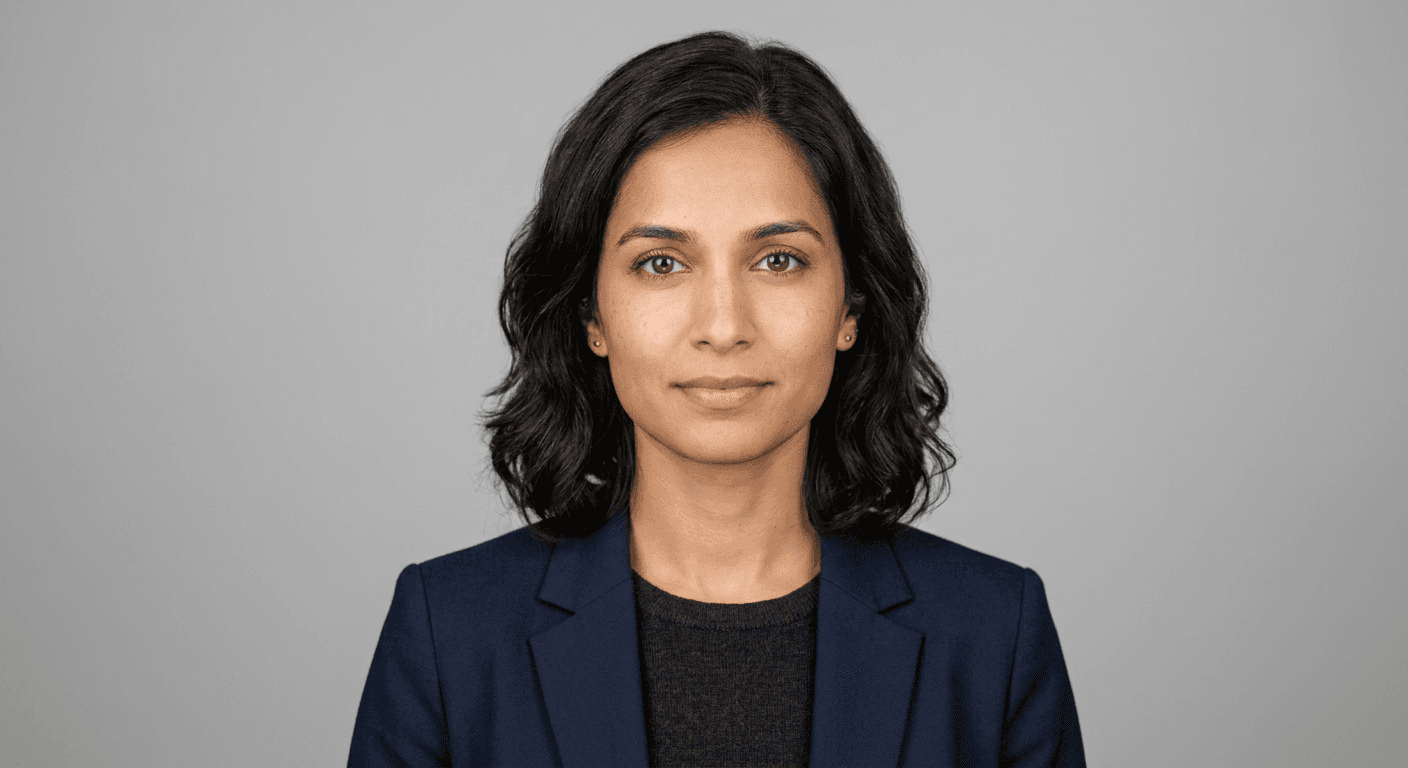
Creating a compliant image is the foundational step when you need to upload passport photo files for a digital application. Whether you are performing a standard passport photo renewal or simply providing a fresh image for an upcoming travel document, the process requires strict adherence to government standards regarding lighting, framing, and file metadata. Failing to meet these specific technical requirements often results in immediate rejection, delaying your travel plans significantly.
Quick Summary
Uploading and validating a passport photo involves capturing a high-resolution, head-on digital image against a plain, light-colored background without shadows or obstructions. You must ensure the file meets specific pixel dimensions and file size limits before submission to ensure automated systems accept the upload.
- Use a plain, off-white or cream background.
- Maintain a neutral expression with eyes fully visible.
- Ensure even lighting to avoid shadows on the face or wall.
- Verify pixel dimensions match the official government requirements.
Table of Contents
- Quick Summary
- Preparing Your Digital Passport Photo
- How to Upload and Validate Your Photo
- Common Pitfalls and Troubleshooting
- Frequently Asked Questions
- Recommended Reads

Preparing Your Digital Passport Photo
Before you attempt to upload passport photo assets, you must ensure the source file is technically sound. Authorities typically require a digital file that is at least 600 pixels wide by 750 pixels high. The file format is almost exclusively JPEG. If your file is too small, it will appear pixelated or blurry when scaled, leading to automatic rejection. Conversely, files exceeding the maximum size limit (often 10MB) may time out during the upload process.
Lighting and Composition Standards
The most common reason for rejection involves poor lighting. You must face a light source directly to prevent shadows on your face or the background. Natural light from a window is ideal, but avoid direct sunlight that causes squinting. Your expression should be neutral with your mouth closed, and your eyes must be clearly visible through your glasses if you wear them, though it is often recommended to remove glasses to avoid glare. Consult our online guide to ensure your composition aligns with the latest biometric standards.
How to Upload and Validate Your Photo
When you are ready to check passport photo online or submit your digital application, follow these precise steps to ensure integrity and compliance.
- Select the correct portal: Navigate to the official government service or a verified passport photo maker tool to begin the process.
- Upload the file: Click the upload button and select your JPEG file. Wait for the server to process the image; this may take a few seconds depending on your connection speed.
- Alignment check: Use the cropping tool provided by the interface to align your eyes and chin with the indicated guides. This step is critical for biometric mapping.
- Final validation: Most professional platforms provide a feedback loop. If the system flags the photo, read the specific error message-it will usually specify if the brightness, contrast, or head size is incorrect.
- Confirm and submit: Once the validator green-lights the image, proceed to attach it to your application form.
Pro Tip: If you are struggling with home lighting, use a secondary lamp aimed at the wall behind you to eliminate "halo" shadows, but ensure you do not create a hotspot of light that blows out the background detail.
Common Pitfalls and Troubleshooting
Even with the best equipment, technical issues can arise. One frequent issue is the inclusion of metadata that conflicts with the application portal. If you continue to receive errors, try saving the image in a different graphics program to strip excess metadata before attempting to upload it again. You can always contact support if the system consistently rejects a photo that appears compliant to the naked eye.
Another common mistake is the presence of head coverings or jewelry that obscures the face. While religious head coverings are permitted, they must not cast shadows or hide the hairline or jawline. Ensure that no portion of your hair is cut off by the frame; there should be a small amount of space above your head and on the sides to satisfy the cropping requirements of the official documentation.
Frequently Asked Questions
Can I use a photo taken with a smartphone? Yes, provided the camera resolution is high enough and you use the back-facing camera, which generally offers superior quality compared to the selfie camera.
What if my photo is rejected after I upload it? Do not panic. Rejections are usually due to minor alignment or brightness issues. Read the error message carefully, adjust your lighting, and try again.
Do I need a white background? Most authorities specify a plain, light-colored background. A clean off-white or light-grey wall is typically sufficient, but ensure it is completely free of patterns or posters.
How do I know if the file size is correct? Most online checkers will automatically notify you if the file size is too large or too small during the upload phase.