Quick Guide to Passport Photo Specifications
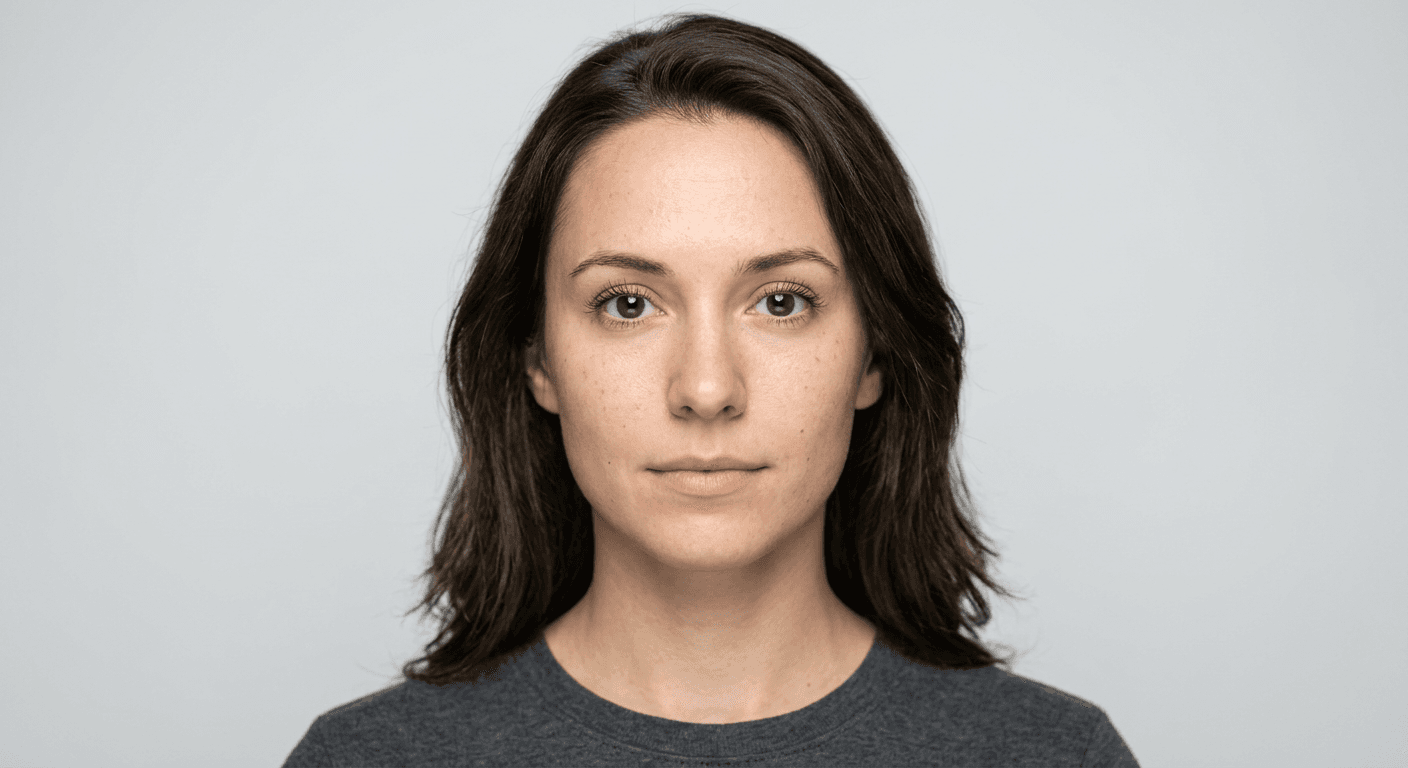
Achieving compliance with passport photos specifications is the single most frequent cause of application delays for travelers. Whether you are renewing a document or applying for the first time, understanding the granular technical requirements - such as lighting, facial expression, and digital file integrity - is essential. A professional approach to capturing these images ensures that your identity verification process remains seamless and avoids the frustration of rejected submissions.
Quick Summary
Passport photos specifications refer to the strict international standards for biometric identity images, requiring specific dimensions, neutral expressions, and clear contrast against a plain, light-colored background. Adherence to these rules prevents application rejection.
- Standard dimensions are typically 35mm wide by 45mm high.
- Neutral facial expressions with eyes open and looking at the camera are mandatory.
- No shadows, reflections, or obstructions like hats or tinted eyewear are permitted.
- Digital files must meet specific resolution and file size thresholds.
Table of Contents
- 1. Dimensions and Sizing
- 2. Lighting and Shadows
- 3. Facial Expression and Positioning
- 4. Background Requirements
- 5. Clothing and Accessories
- 6. Digital File Integrity
- 7. Print Quality and Paper
- Frequently Asked Questions
- Recommended Reads

1. Dimensions and Sizing
Precision in Millimeters
Passport photos specifications dictate exact dimensions that are non-negotiable. Globally, the most common standard is 35mm in width by 45mm in height. The head height, measured from the chin to the crown of the head, must occupy between 29mm and 34mm of the frame. Ensuring these proportions are correct is vital, as automated facial recognition software requires specific spatial data points to verify your identity correctly.
Why It Matters - Real-World Impact
If your image is cropped incorrectly or the head size is too small or too large, the biometric scanner will flag the photo as "non-compliant." This forces a manual review, which inevitably leads to delays. For those seeking professional tools, you can consult an online passport photo guide to ensure your cropping matches the exact institutional requirements before submission.
2. Lighting and Shadows
Eliminating Environmental Noise
Lighting must be uniform across the entire face, with no distracting shadows on the background or across your features. Avoid direct flash that causes "red-eye" or harsh hotspots on the forehead or nose. Professional lighting usually involves two softbox lights placed at 45-degree angles to eliminate deep shadows, creating a clear, balanced illumination profile that is easy for digital scanners to interpret.
Why It Matters - Real-World Impact
Shadows are interpreted by algorithms as topographical variations or disguises. If a shadow obscures the jawline or creates a dark patch behind the ears, the system may classify the photo as poor quality. Always ensure your environment is evenly lit; if you find yourself struggling with these technical hurdles, you might find utility in contacting a passport advice line to clarify specific local lighting constraints.
3. Facial Expression and Positioning
The Neutral Baseline
Your expression must be neutral, which means no smiling, frowning, or squinting. Mouths should be closed, and eyes must be fully open and directed straight into the camera lens. Your head should be square to the camera, not tilted or turned. This standard creates a consistent baseline for comparison against your physical appearance at border control checkpoints.
Why It Matters - Real-World Impact
Even a slight "Duchenne smile" can distort facial landmarks like the cheekbones and eyes. Because border security relies on facial recognition software that maps these landmarks, an unconventional expression can cause a false mismatch, leading to time-consuming manual verification or denial of entry.
4. Background Requirements
Achieving Neutrality
Passport photos specs explicitly require a plain, light-colored background. In most cases, light grey or white is the mandatory standard. The background must be completely free of textures, patterns, shadows, or other objects. The objective is to provide maximum contrast between the subject and the rear plane, allowing software to easily strip the subject from the image for processing.
Why It Matters - Real-World Impact
Busy or patterned backgrounds interfere with the contrast thresholding software uses to find the edge of your silhouette. If the software cannot cleanly separate the head from the background, the image will be rejected. Always use a flat wall or a professional backdrop to maintain the integrity of your passport photo now submission.
5. Clothing and Accessories
Reducing Visual Interference
Avoid wearing head coverings unless for religious or medical reasons, and even then, your face must remain fully visible from the chin to the forehead. Tinted glasses or thick-rimmed eyewear that blocks your eyes are strictly prohibited. Wear regular clothing; avoid uniforms or camouflage, which can interfere with imaging sensors. If you must wear glasses, ensure there is absolutely no glare on the lenses.
Why It Matters - Real-World Impact
Accessories act as "noise" for AI-driven verification systems. A reflection on a lens can hide the iris, which is a critical point of identification. By keeping your appearance simple and devoid of distracting fashion items, you ensure your image passes through automated systems without human intervention.
6. Digital File Integrity
Technical Encoding Standards
Digital passport photos must be saved in common file formats, usually JPEG, and must adhere to specific file size limits, often between 50KB and 10MB. The resolution must be sufficient to ensure clarity, typically requiring a minimum of 600dpi (dots per inch) for prints or specific pixel dimensions (like 600x750 pixels) for digital uploads.
Why It Matters - Real-World Impact
Uploading an over-compressed or low-resolution file results in "pixelation." When a digital image is pixelated, the fine edges of facial features become blurry, which confuses facial recognition algorithms. Always verify your file size and resolution before uploading to avoid an automated rejection response.
7. Print Quality and Paper
Media Durability
If you are submitting physical copies, the photo must be printed on high-quality, professional photographic paper. It should not be mounted on thick cardstock, and it must not have creases, ink smudges, or scratches. The finish should be matte or semi-gloss, as high-gloss prints can create glare under the scanners used at government processing centers.
Why It Matters - Real-World Impact
Physical prints are often scanned by government staff. If the paper is flimsy or the print quality is degraded, the scanned version will not meet the required threshold for internal databases. Using the correct materials ensures your document remains valid and scannable for the duration of its lifespan.
Frequently Asked Questions
Can I wear glasses in my passport photo?
Generally, no. Most jurisdictions require glasses to be removed to prevent reflections and eye obscuration. If they are medically necessary and cannot be removed, you may face additional scrutiny.
What if my photo is rejected?
If your photo is rejected, the issuing authority will typically provide a reason code. Review the passport photo page of the issuing authority to see which specifications you failed to meet and retake the photo accordingly.
Are home-taken photos accepted?
Yes, as long as they meet all the technical passport photos specifications. You must have a high-resolution camera, proper lighting, and a plain background to be successful.