Renewing Your Passport Photo Online: Key Details
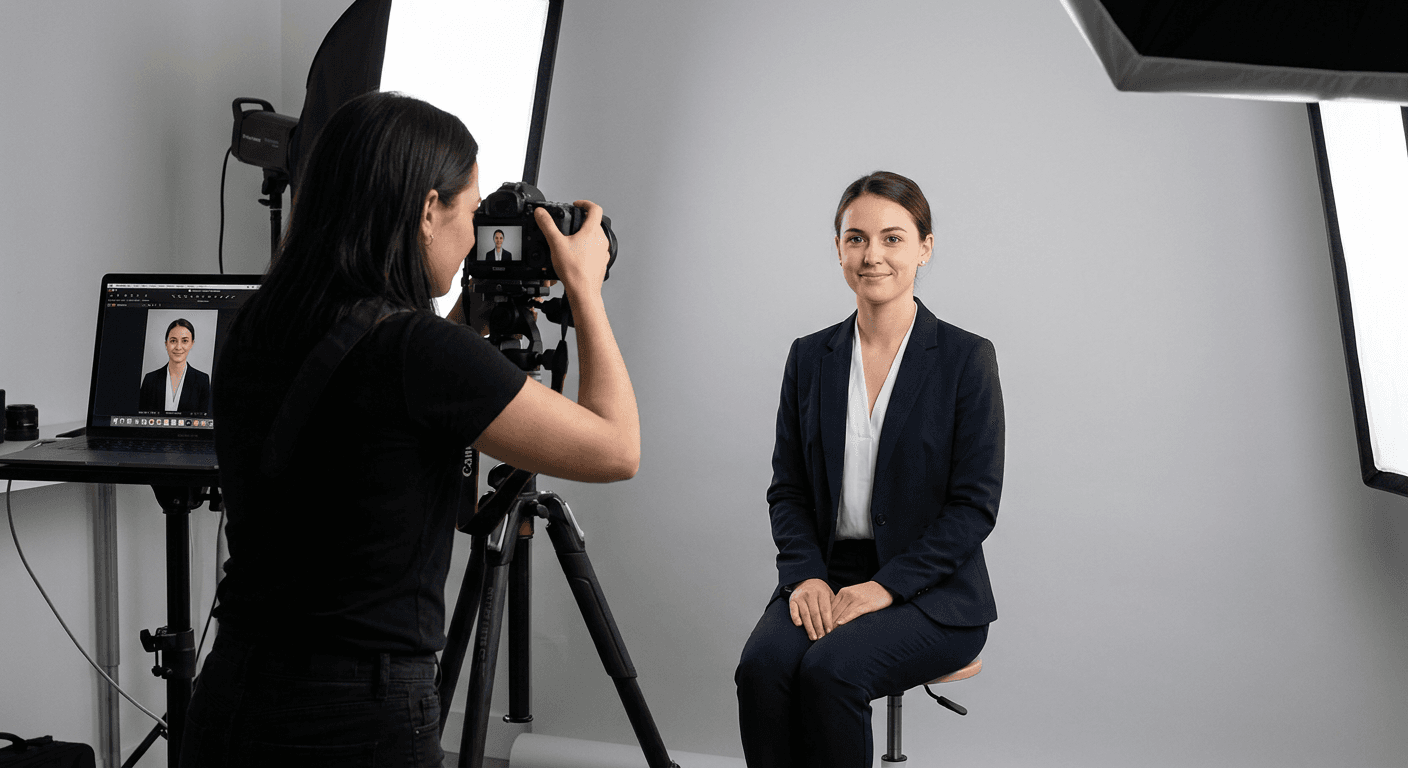
Renewing your passport online requires precise digital documentation, making the ability to renew passport online photo submissions a critical step in the modern application process. Navigating the stringent requirements set by the UK government ensures that your identity verification proceeds without delay, avoiding the common pitfalls of rejected applications due to improper lighting, framing, or image quality.
Quick Summary
Renewing a passport online involves uploading a compliant digital file that meets strict HM Passport Office standards for dimensions, lighting, and composition. Using a professional id photo maker helps ensure your submission avoids technical rejection by automating compliance checks for background colour, head positioning, and image resolution.
- Ensure a plain, light-coloured background is used.
- Maintain a neutral expression with eyes fully visible.
- Use an online photo creator to ensure the 600x900 pixel minimum requirement is met.
- Avoid shadows on the face or background.
Table of Contents
- Renewing your passport online
- Digital passport photo requirements
- Advantages of using an id photo maker
- Common technical pitfalls to avoid
- Best practices for online photo creation
- Comparison of professional vs DIY photos
- Frequently Asked Questions
- Recommended Reads

Renewing your passport online
When you decide to renew passport online photo standards must be strictly adhered to, as the HM Passport Office uses automated validation software to screen uploads. A digital photograph is no longer just a digital scan of a printed image; it is a high-resolution data point that must satisfy specific biometric criteria. If your image is flagged during the initial submission, it can lead to significant delays in your application processing time, often requiring you to restart the process with a new file.
For those looking to streamline the experience, you can explore the passport photo maker guide to understand the technical nuances of file preparation. The online route is inherently faster than traditional post, but it places the burden of compliance entirely on the applicant. Understanding the precise contrast and metadata requirements is essential for a seamless transaction.
Digital passport photo requirements
The UK government maintains exacting standards for a digital passport photo uk file. The file must be in JPEG format, typically between 50KB and 10MB in size. Furthermore, the image must show a close-up of your head and shoulders, with the head occupying roughly 70-80% of the vertical frame. It is vital that the image is clear and in focus, with no red-eye or digital manipulation.
Lighting is perhaps the most frequent cause of rejection. You must ensure that your face is evenly lit with no shadows cast across your features or onto the plain, off-white, or light-grey background. If you have concerns about the specific terms or image specifications, you can review the passport photo maker terms to ensure your setup aligns with current digital regulations.
Advantages of using an id photo maker
Utilising a dedicated id photo maker provides a layer of automated security. These platforms are engineered to recognise facial landmarks and verify that your posture aligns with official requirements. By using software designed for this purpose, you mitigate the risk of accidental skewing or incorrect cropping that often occurs when manual editing tools are used without expert guidance.
Pro Tip: When choosing an online photo creator, always check if the service provides a compliance guarantee. This indicates that the software has been updated with the latest HM Passport Office guidelines, ensuring the aspect ratio and white balance are perfectly calibrated for government systems.
Common technical pitfalls to avoid
One common error involves wearing accessories that obscure the face, such as heavy-rimmed glasses or head coverings that are not for religious or medical reasons. Additionally, many applicants struggle with digital noise - grainy images caused by low-light environments. Ensure you are standing approximately 0.5 metres from the wall to prevent shadows from falling behind your head, which often happens when standing too close to the surface.
If you find your application is stalled or rejected due to technical issues, you may wish to reach out to the passport photo maker support team for assistance in troubleshooting your specific file. Understanding why a photo was rejected is the first step toward submitting a successful replacement without incurring additional costs or delays.
Best practices for online photo creation
To order passport photos online successfully, start by finding a well-lit area, ideally facing a window during daylight hours. Turn off the camera flash, as this often creates harsh reflections on glasses or shiny skin surfaces. Maintain a neutral expression - neither smiling nor frowning - and keep your mouth closed while looking directly into the lens.
If you have already processed an order and encountered issues, you might want to check the passport photo maker refund policy to understand your options. Ultimately, the best practice is to take several photos from slightly different angles and distances, then select the one that most closely adheres to the digital grid overlays provided by your chosen editing tool.
Comparison of professional vs DIY photos
| Feature | Professional Service | DIY Photography |
|---|---|---|
| Compliance Check | Guaranteed / Automated | Manual / Guesswork |
| Lighting Control | Expert / Studio Grade | Natural Light / Difficult |
| Cost | Moderate | Free / Low |
| Time Investment | Immediate | High (Trial and error) |
Frequently Asked Questions
- Can I take a passport photo with my smartphone? Yes, you can, provided the device has a high-quality camera and you have a reliable online photo creator to ensure the image meets the necessary pixel dimensions and composition rules.
- Do I need to wear specific clothing? You should wear everyday clothing, but avoid uniforms or clothing that matches the light-coloured background. Avoid head coverings unless worn for religious or medical reasons.
- How do I ensure my glasses don't cause a rejection? The best practice is to remove glasses if possible. If you must wear them, ensure there is no glare on the lenses and that the frames do not hide your eyes.
- What if my digital photo is rejected by the system? Most online platforms will provide feedback on why the image failed. Use an id photo maker tool to correct the specific issue, such as cropping or brightness, before re-uploading.